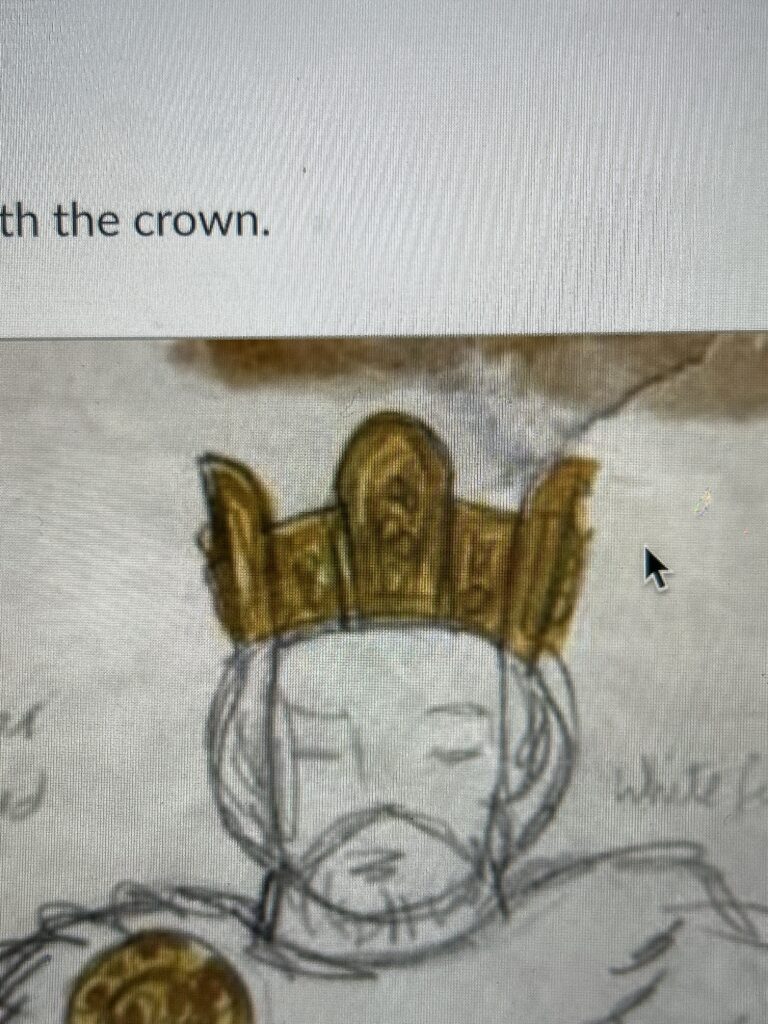
For this project, I was given a sketch by the designer. The notes stated that the crown was for the play “King Lear”. It appeared a darker gold color than I made my previous crown. It showed dimensional aspects on the side views. The notes also mentioned that the crown should be heavily textured.
Drafting the Pattern
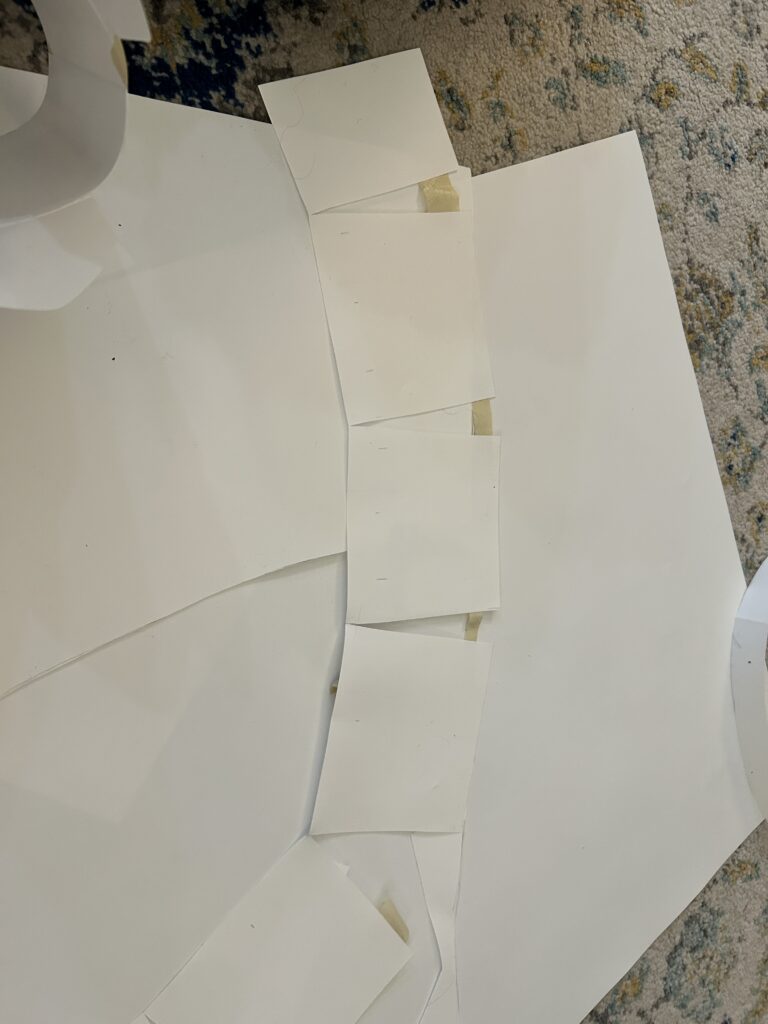
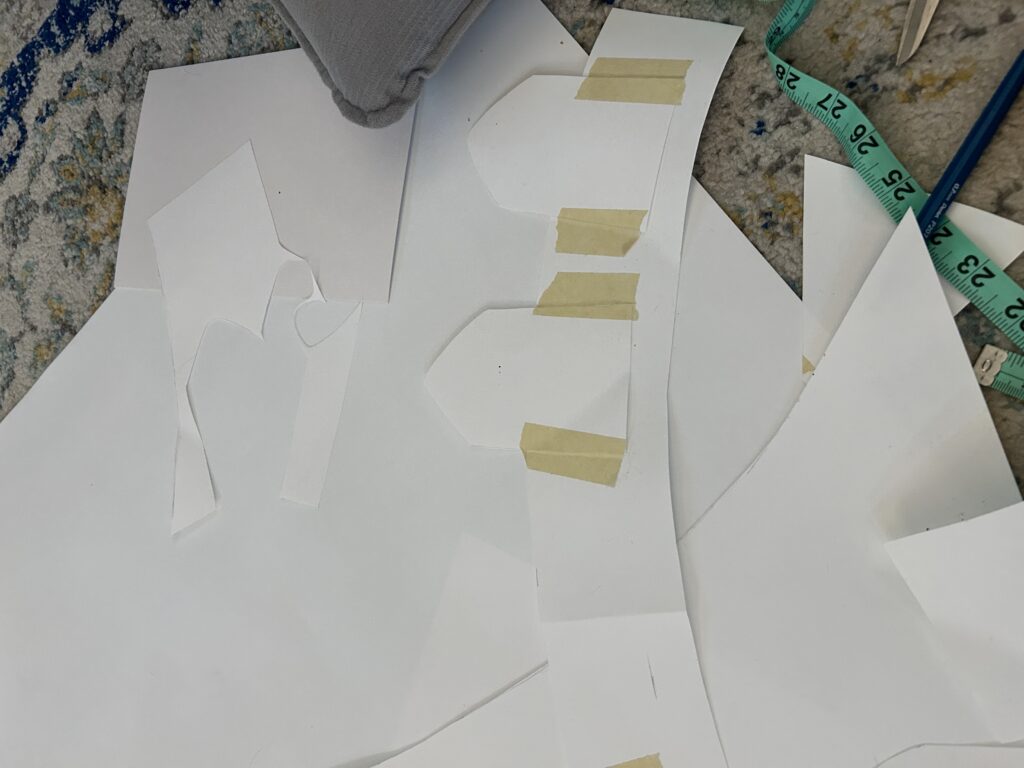
After looking in detail at the drawing, I determined a starting point for the band. I measured the circumference of my head at 22″. I added two inches for an overlay and for room to adjust the head. I decided to make the band approximately 1/3 of my face dimensions. This landed at 3 1/2″. I cut a rectangle to fit those measurement and sectioned it off in equal intervals. I cut the rectangle to spread the pattern to get the curved shape of the top of the crown band. I did 1″ in between the top of each section. Next, I shaped the spires with an oval for the top. I made the spires 2/3 taller, so they ended up at 5 1/2″. Finally, I made the base of the spires at 3 1/2″ as I wanted them to hit centered between my pupils.
After chatting with the designer regarding the shape I made small changes to the pattern. I added 1/4″ to the band, as well as to the spires. I also flared the spires out from the bottom and widened them at the top.
Foam and Wonderflex
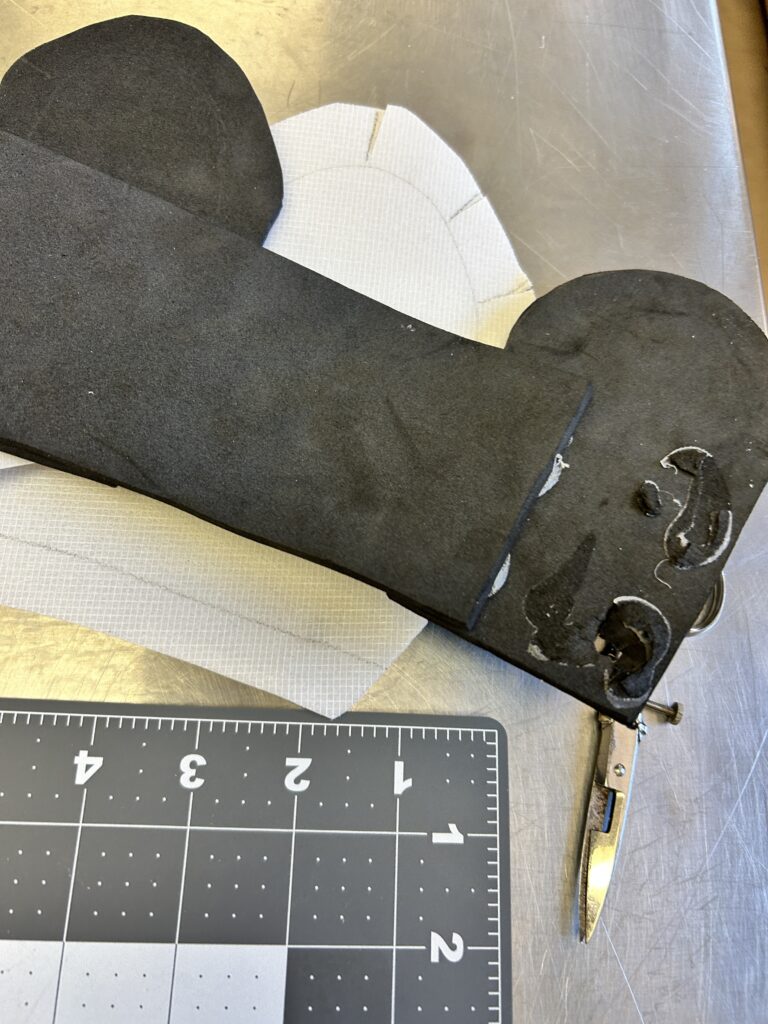
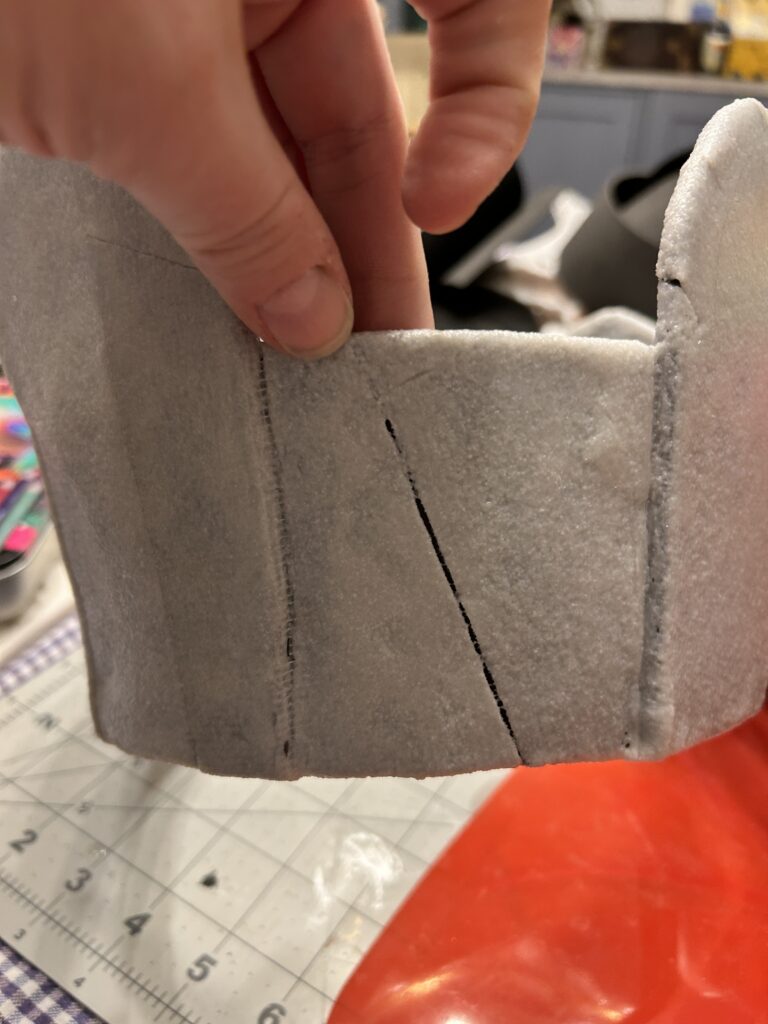
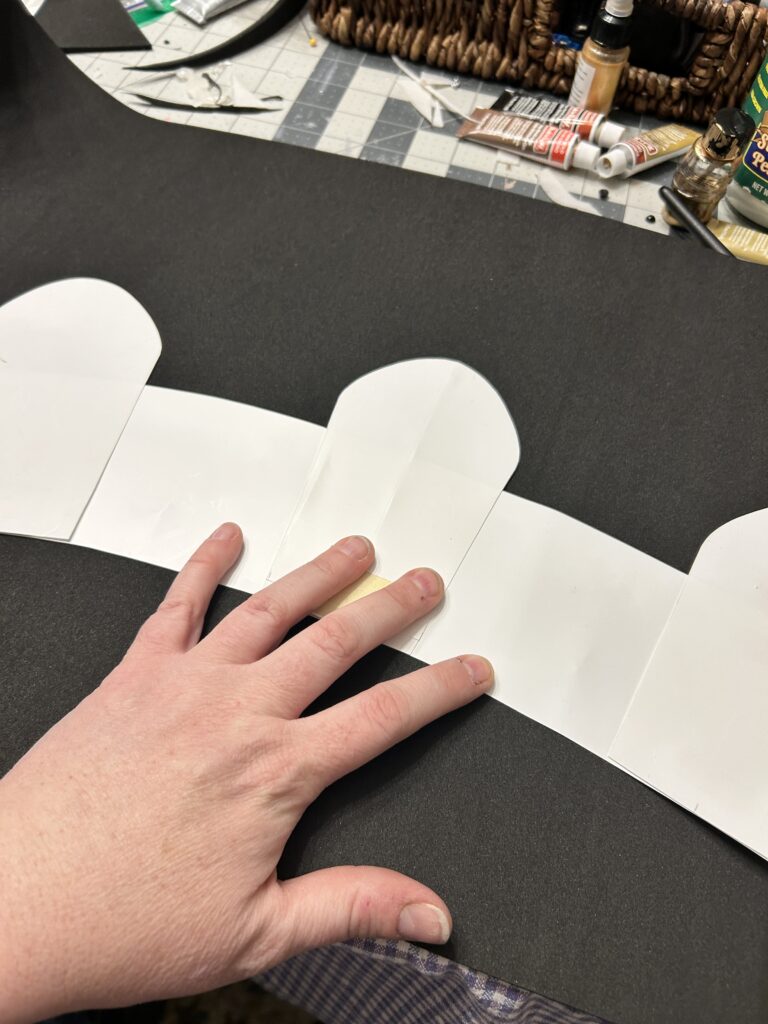
After cutting my pattern out of foam, I began covering it with the Wonderflex. I decided to attach the spires and cover the crown in one piece as I wanted the dimension of the spire sides, but I did not want to see the crack between the spire and the band.
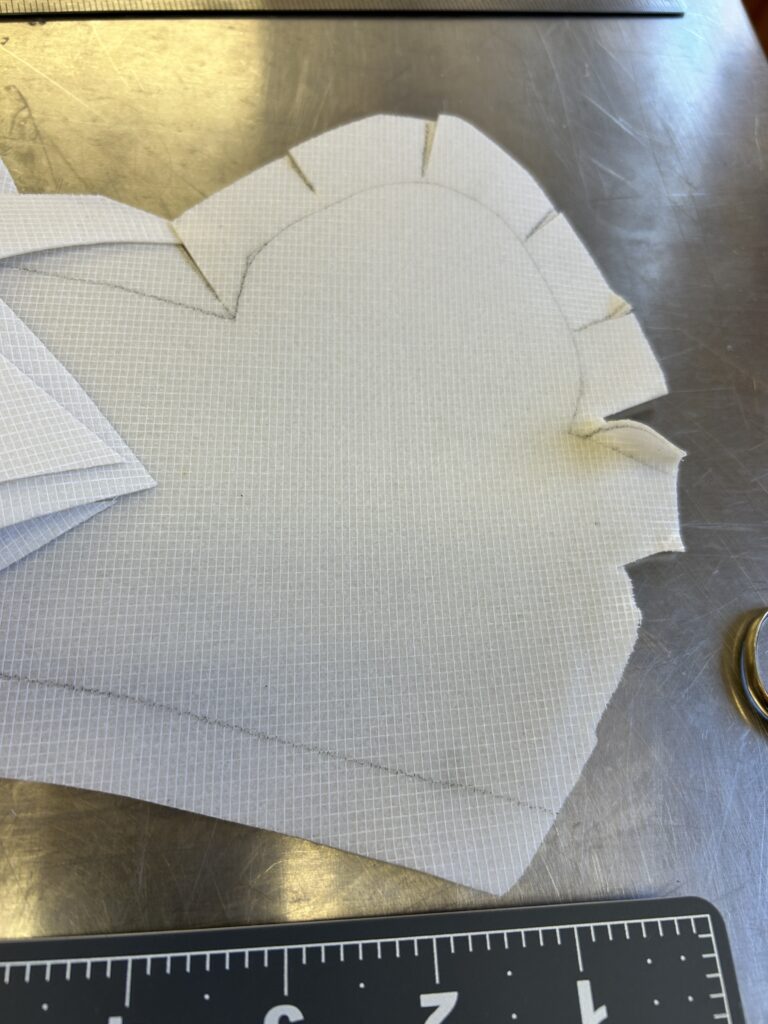
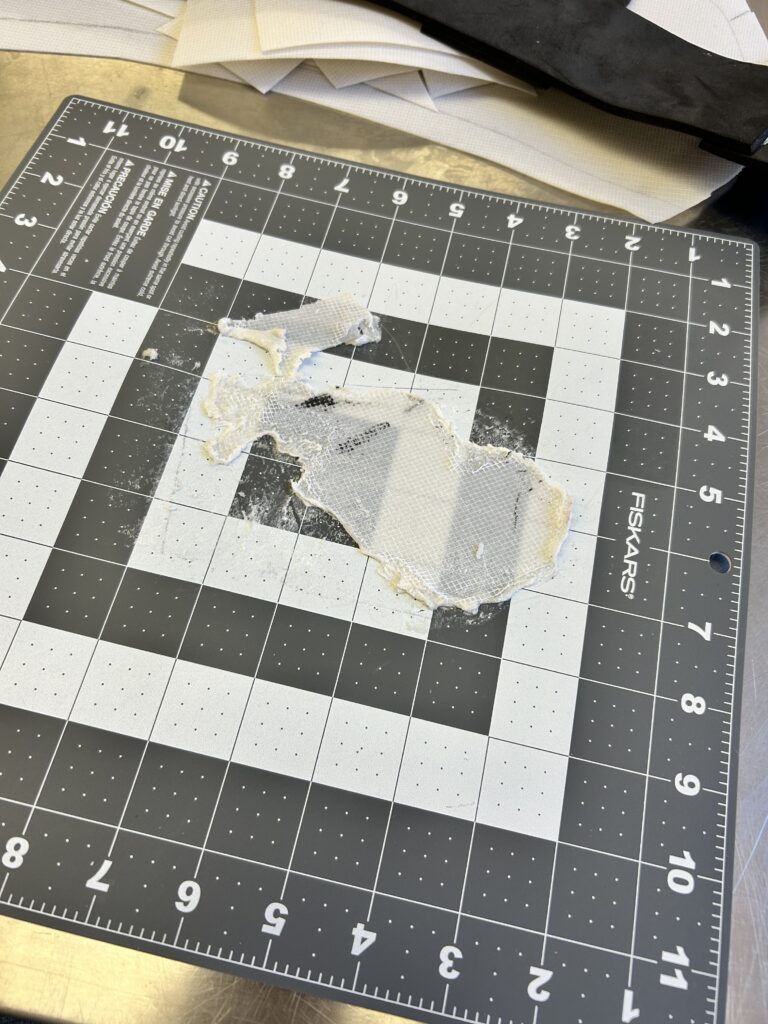
Sadly, I failed at my first attempt. The Wonderflex was heated a bit too enthusiastically and it adhered really well to my mat. I was luckily able to peel off the foam and was left with just a bit of damage that would luckily be covered by the Wonderflex. I used scrap pieces of Wonderflex to compensate for the piece that melted onto my mat.
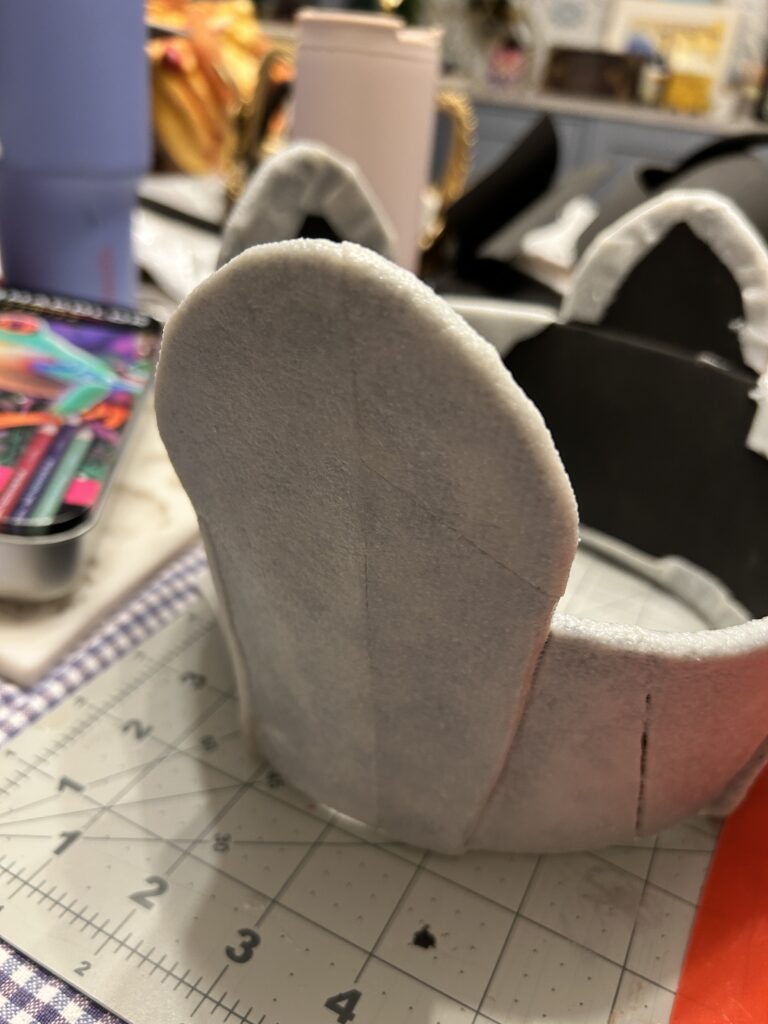
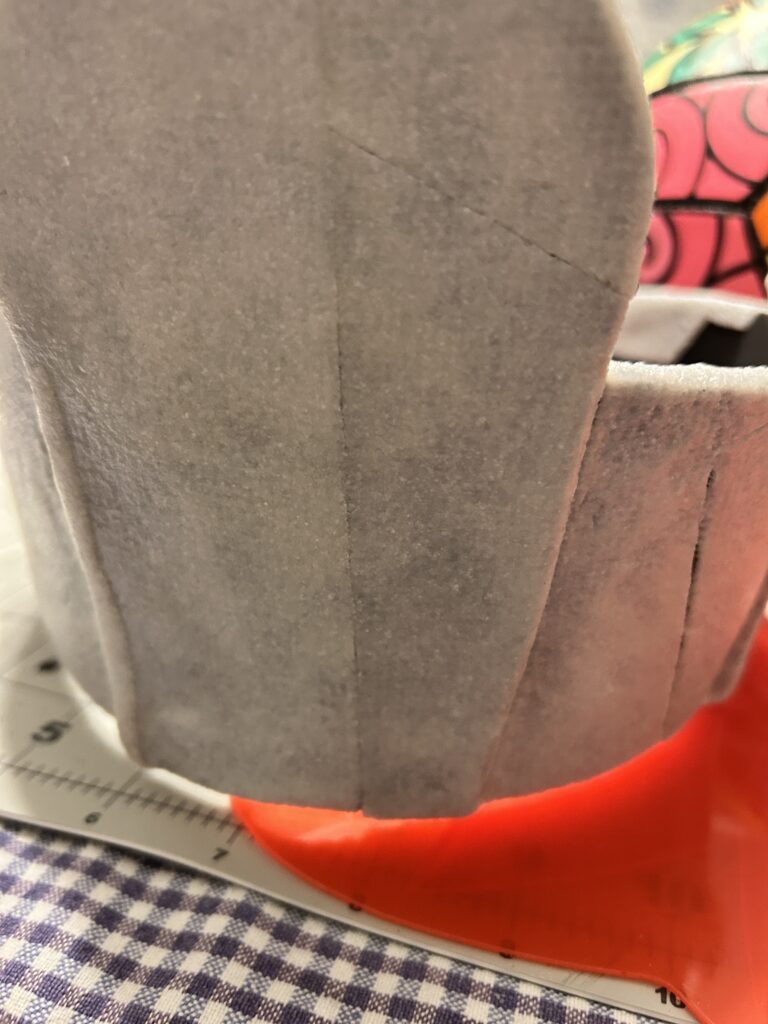
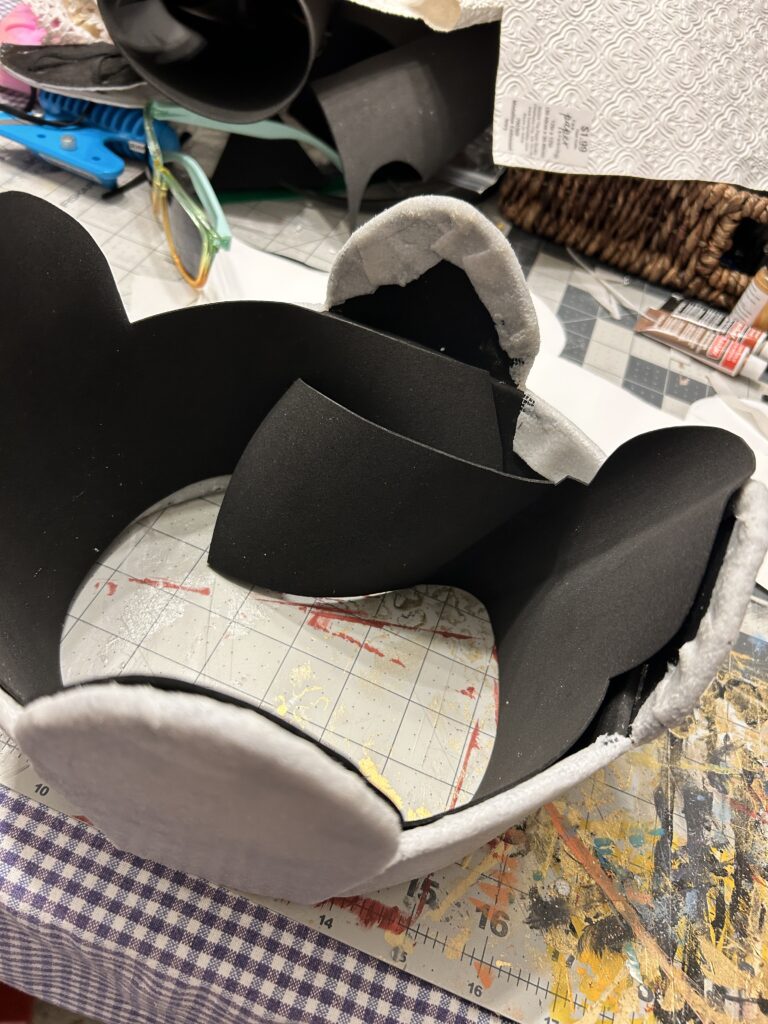
I cut relief cuts into the edges of the Wonderflex to get it to fold along the curve. My plan was to cover the back of the crown with a thin foam, so I was not worried about lining up the folded pieces. I was more worried about bumps and ridges being uncomfortable to the actors so I spent my time ensuring that there were no thick pieces.
I ended up with a few small gaps from using the scraps instead of new pieces. I knew these would get covered and they were not at a stress point so I didn’t worry too much about them.
Adding Texture and Prepping for Paint
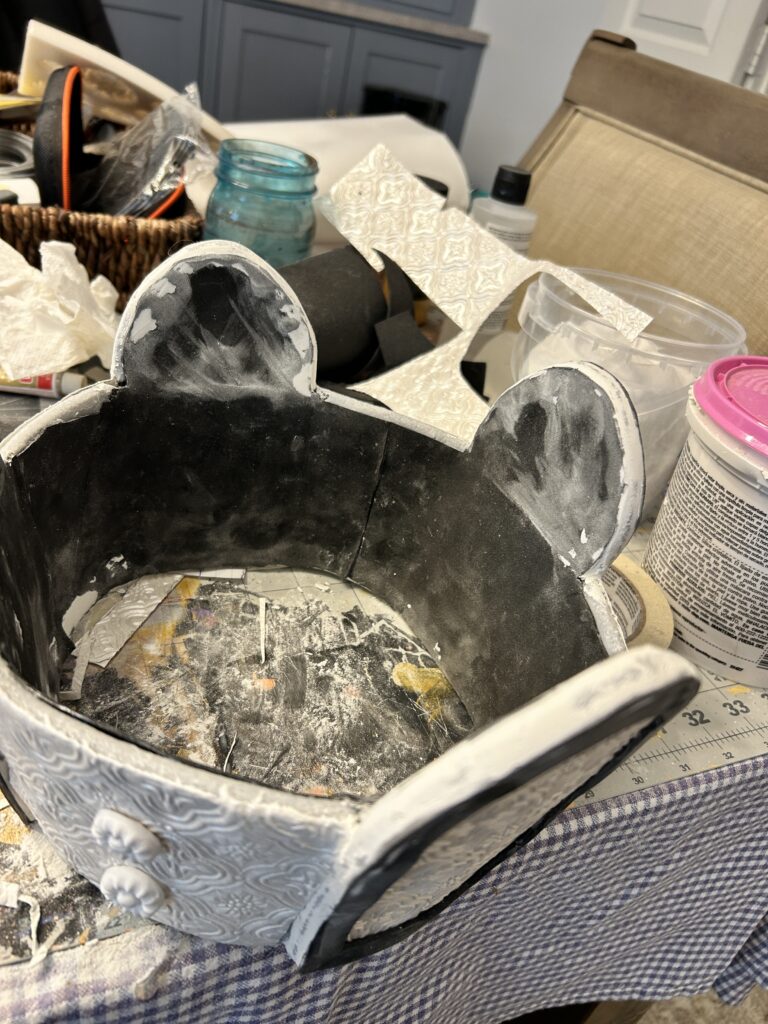
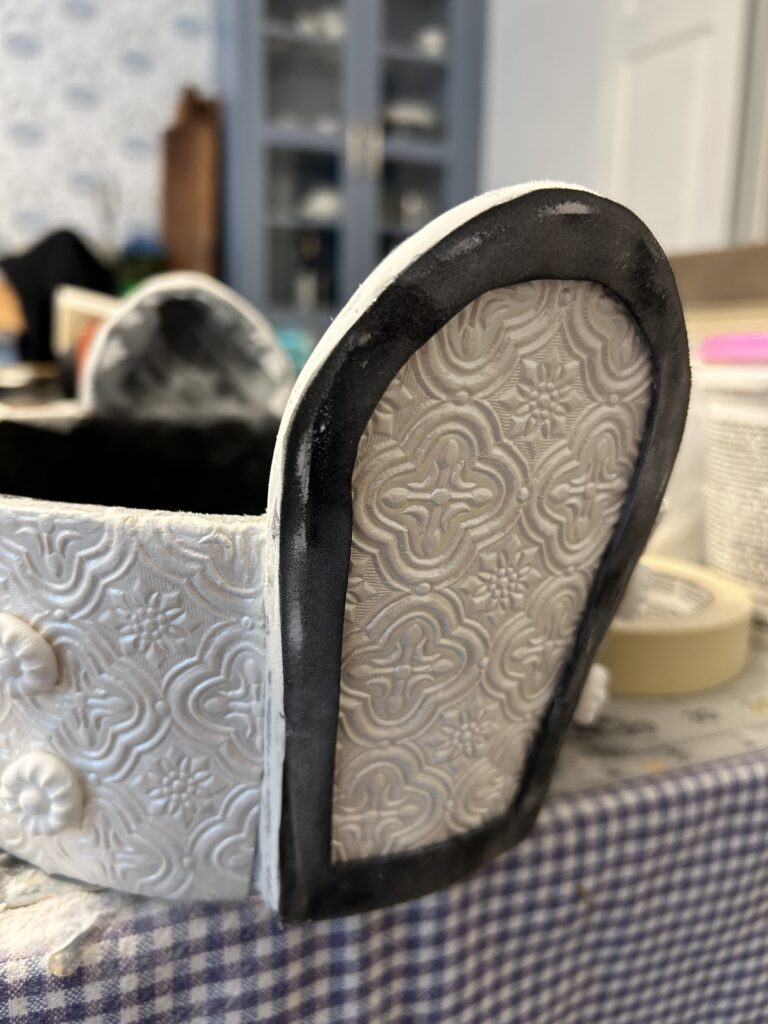
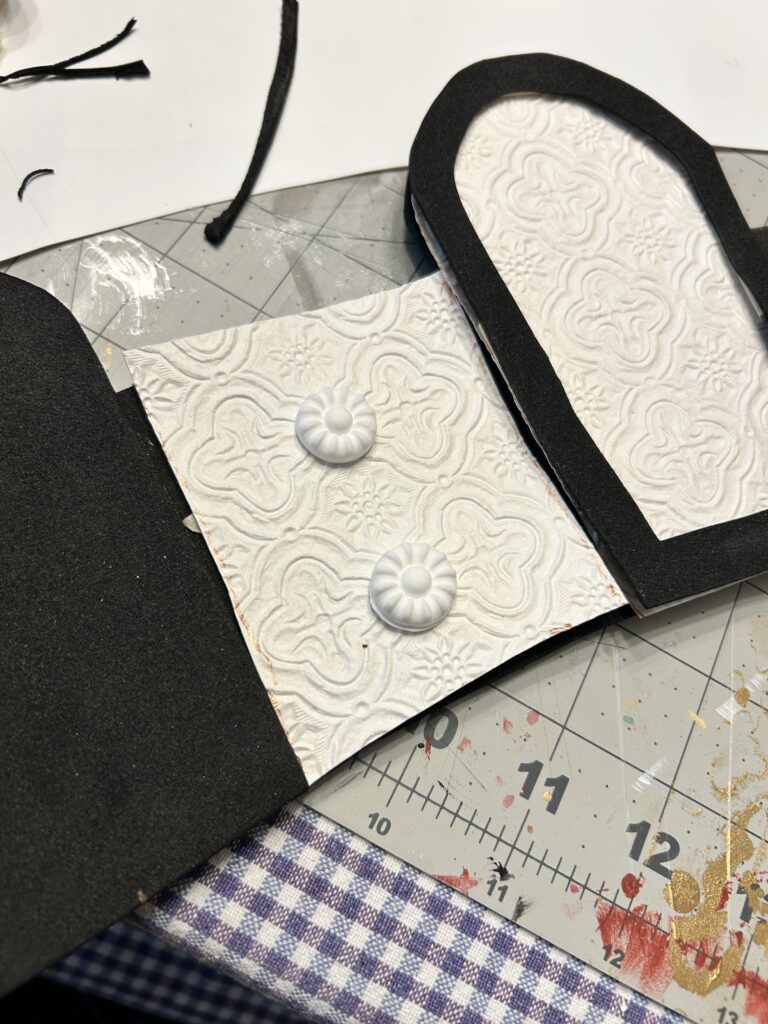
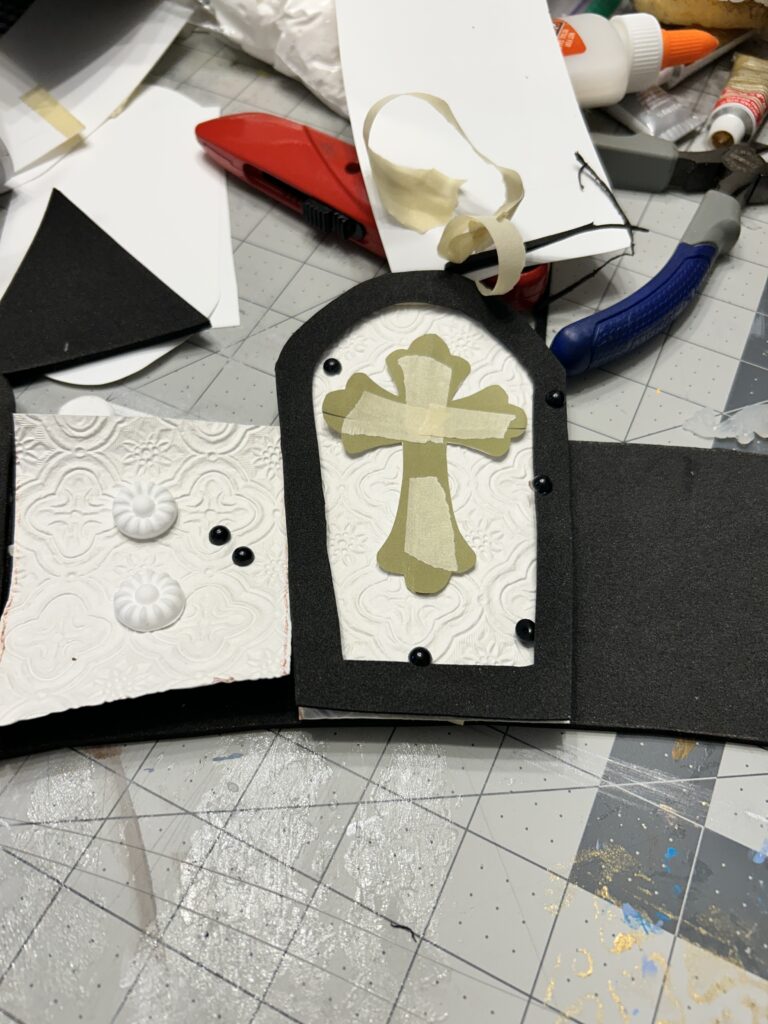
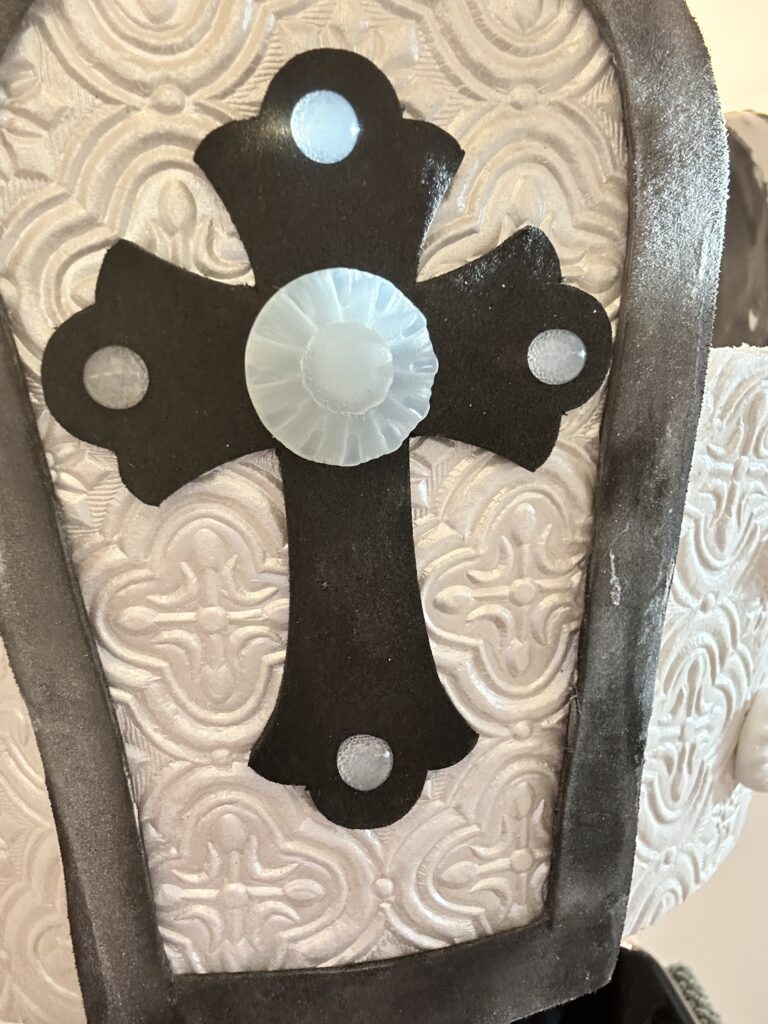
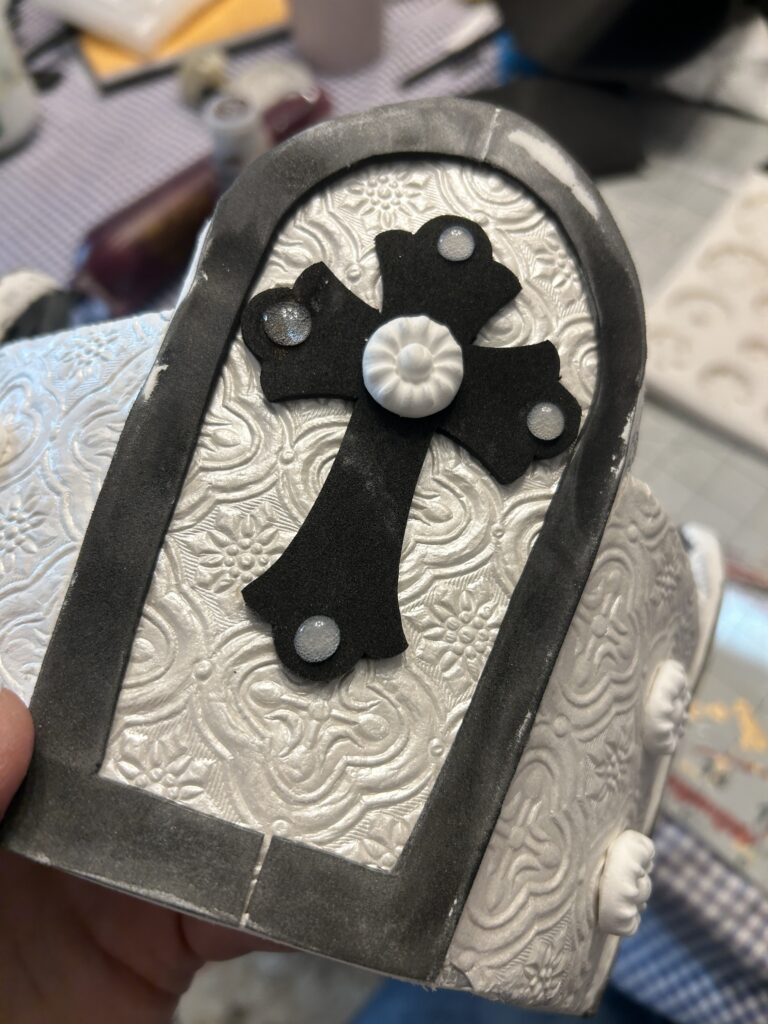
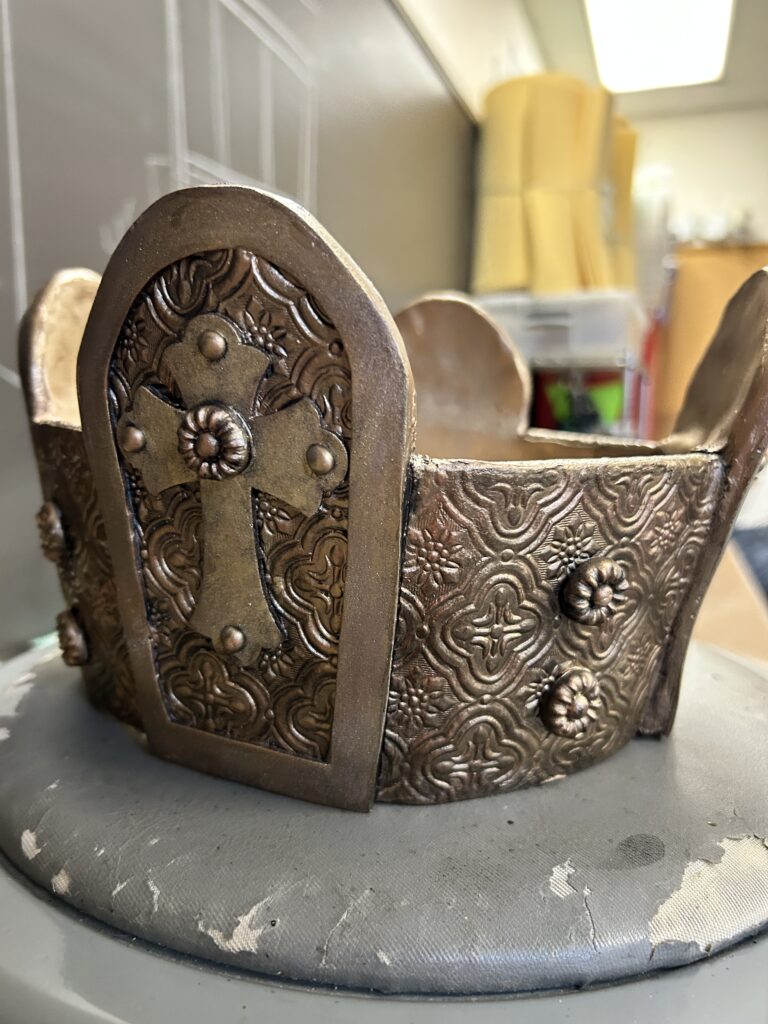
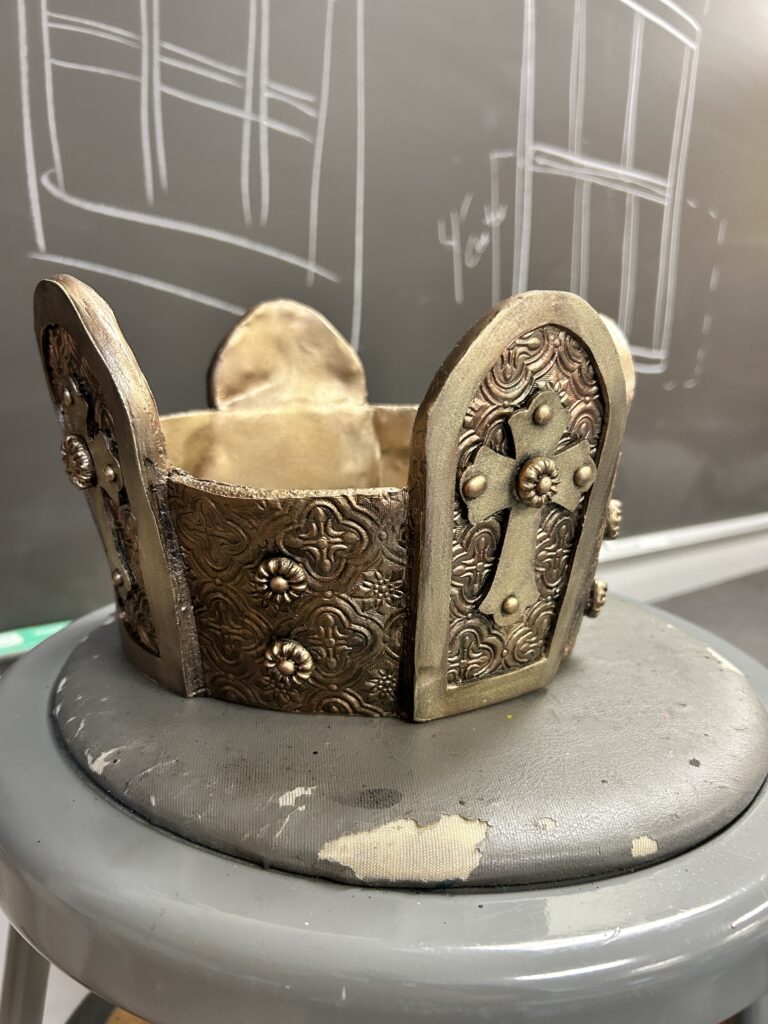
I found this lovely embossed paper that felt perfect for the texture of the crown. I added to the inside of the spires and the outer band of the crown. I also added some circular foam clay pieces that I cast with a silicone mold left over from a previous project. The spire edges were built up with 2mm foam. The crosses were cut out of 2mm foam, with the same circular foam clay pieces added. Finally, I added a small half round details with hot glue. I wanted the spires to feel more like a solid pieces and I did not like the seams between the different layers. So I decided to use some lightweight joint compound to make it more seamless. Once this dried, I gave all the edges a light sanding. Finally, I covered the inside of the crown with 1mm foam for comfort and a cleaner look to the inside of the crown.
Paint and Finishing
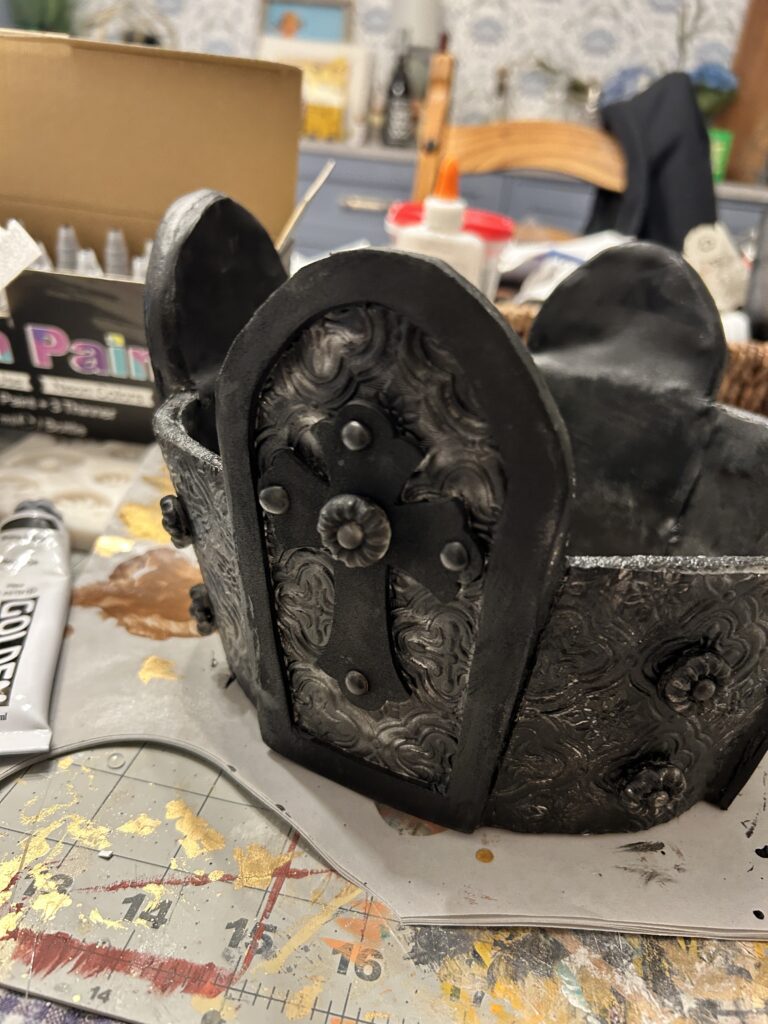
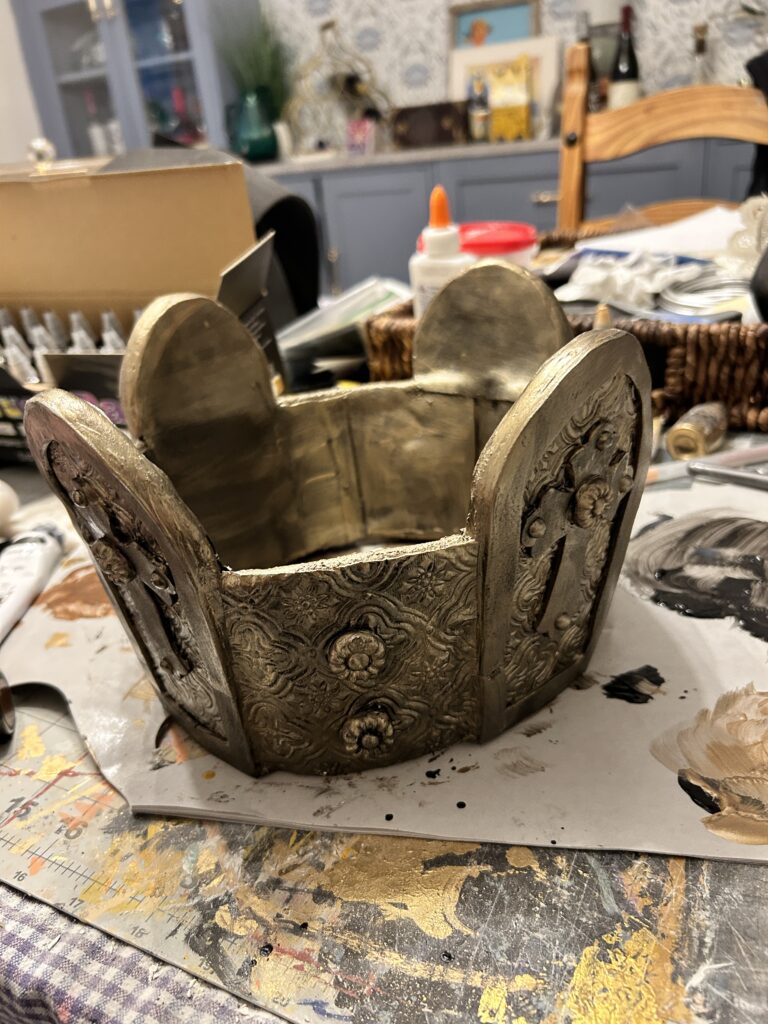
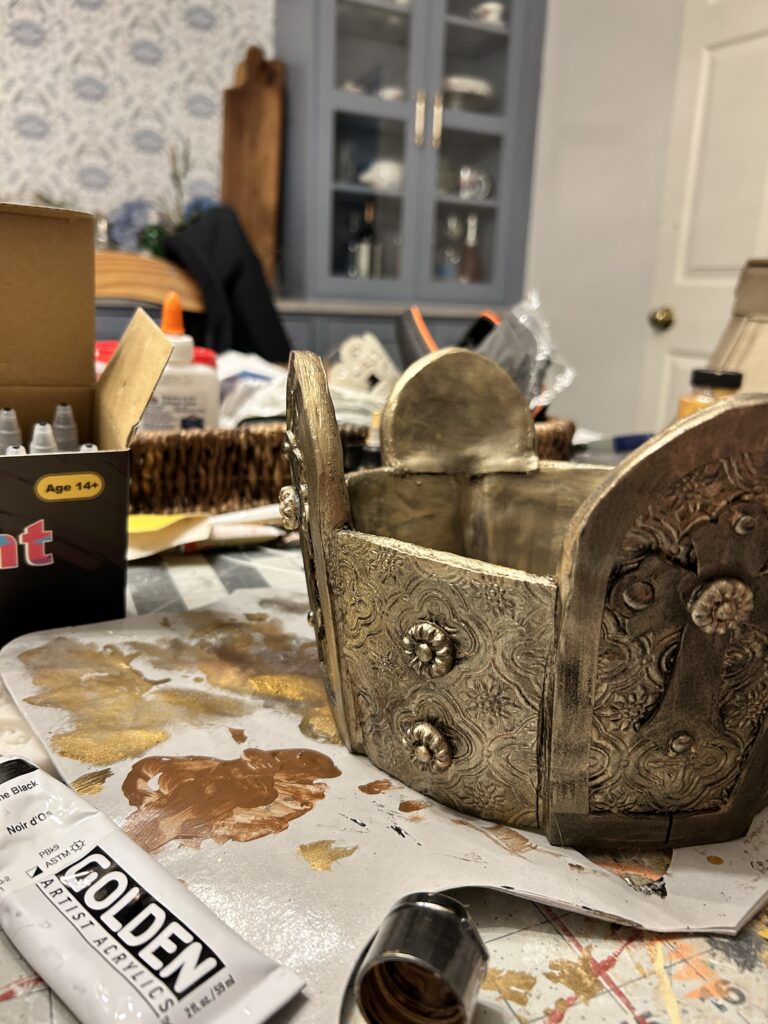
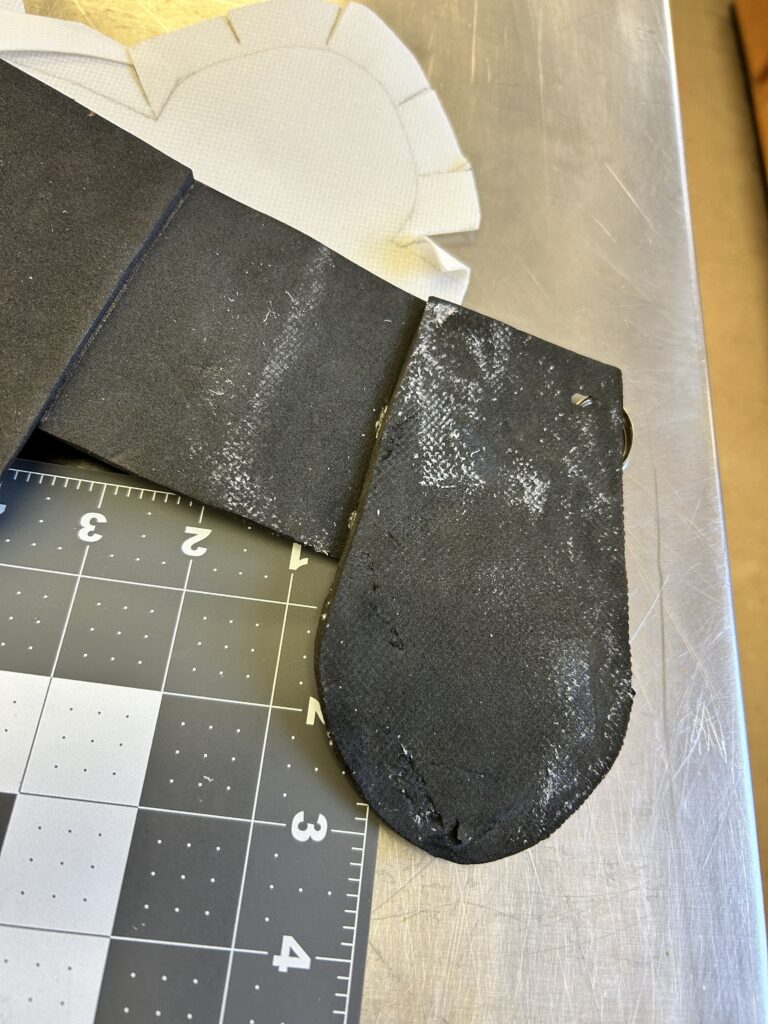
I started with a base layer of black to fill in all of the creases and textures. I then added three layers of a deep bronze metallic acrylic with some burnt sienna mixed in. Finally, I went in with a sponge and Grecian Gold Rub and Buff to give it highlights to the raised portions of the crown. I finished the crown with a light coat of sealant.
Final Product