Inspiration/Design Sketch
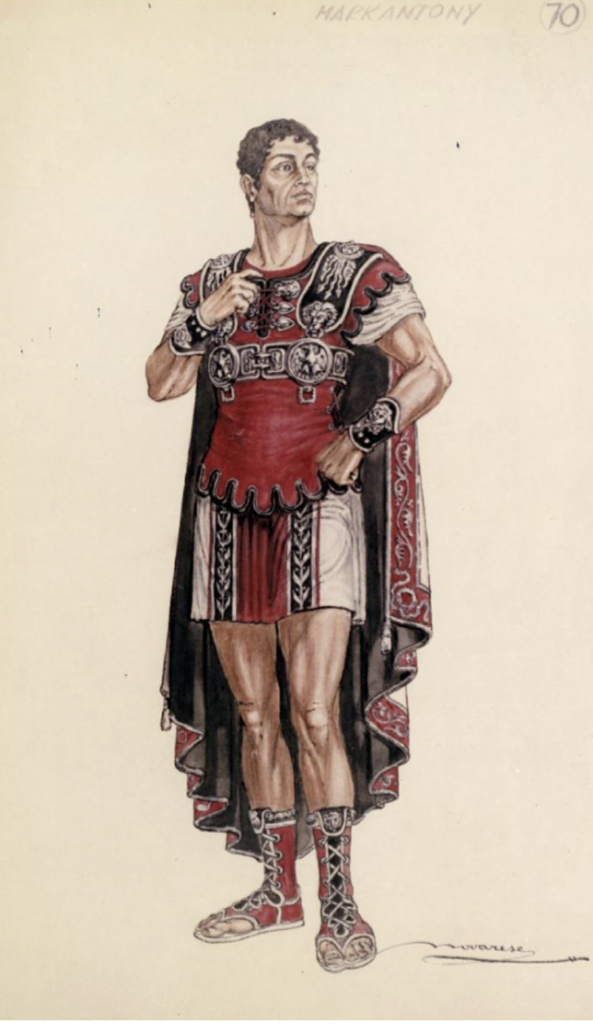
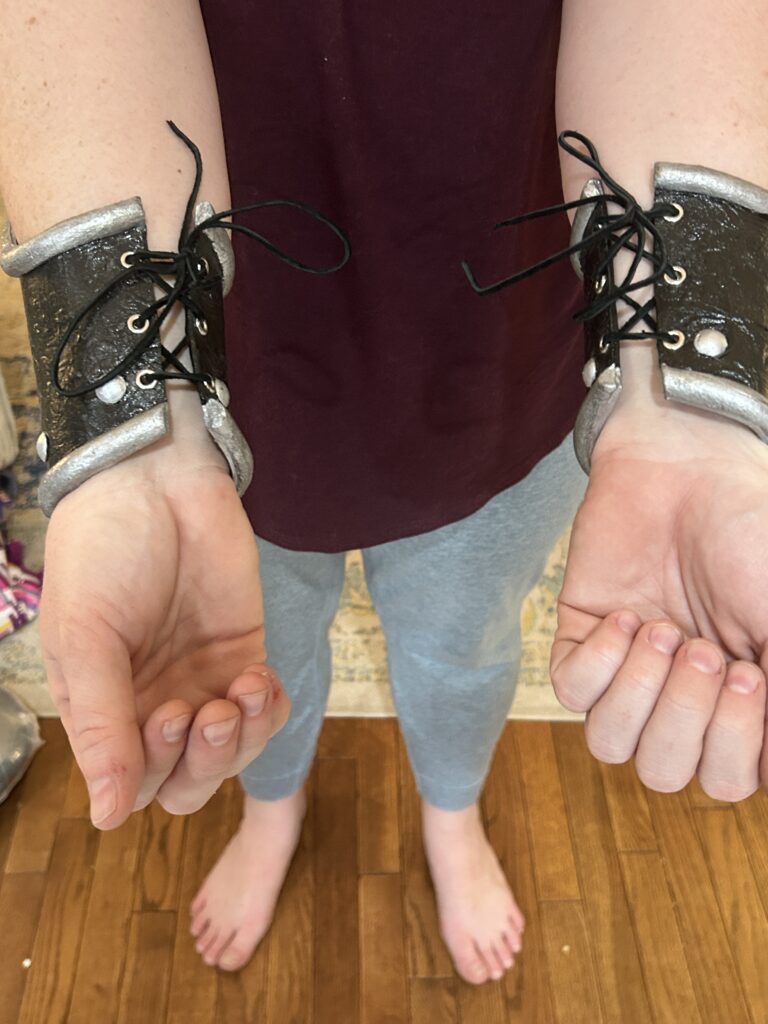
I was challenged to make a matching pair of arm bracers based on the above sketch of Marc Antony. The professor wished for the design to aesthetically match as close to possible. My construction idea was to have EVA foam provide the base and cover the foam with a layer of Worbla. The adornments would be added after the Worbla was set. The backs of the arm bracers would lace up. This would give room for the actor to have comfort and have the ties be easily replaced in case of an incident in the run of the show.
Patterning the Bracers
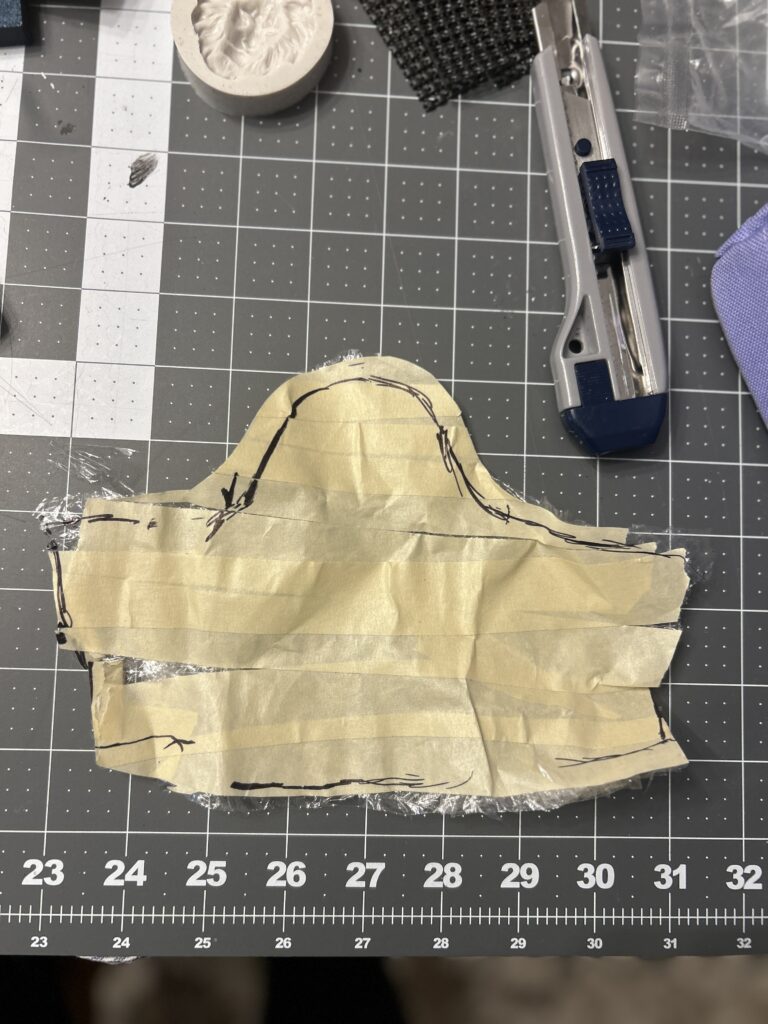
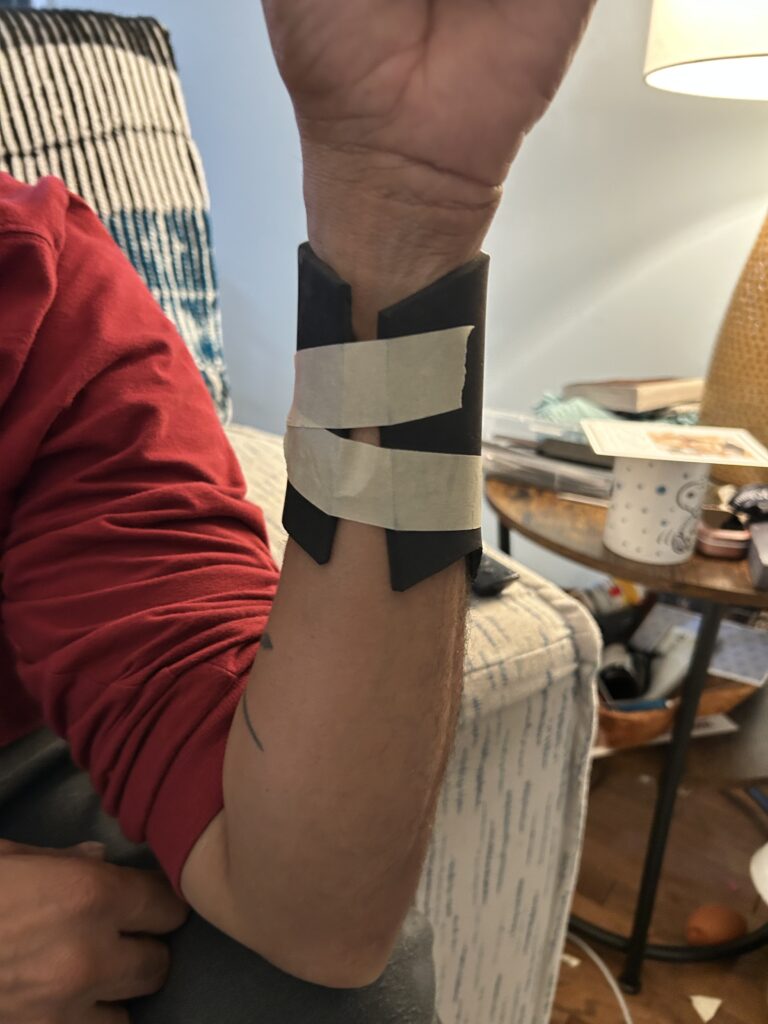

I first started by visually examining the sketch and determining how long the bracers went up on the forearm. In my estimation, the bracer (from the bottom near the wrist bone to the top of the arch) went from wrist to slightly above halfway to the crook of the elbow. The arch tapered down on the sides leading to the back of the arm. I sketched out a rough shape based on the width and length of my arm. I laid plastic wrap on the arm to protect the skin and wrapped the arm in masking tape. I took my paper pattern and traced it onto the arm. This helped me get the correct angle for the back of the arm in order for the back to close neatly.
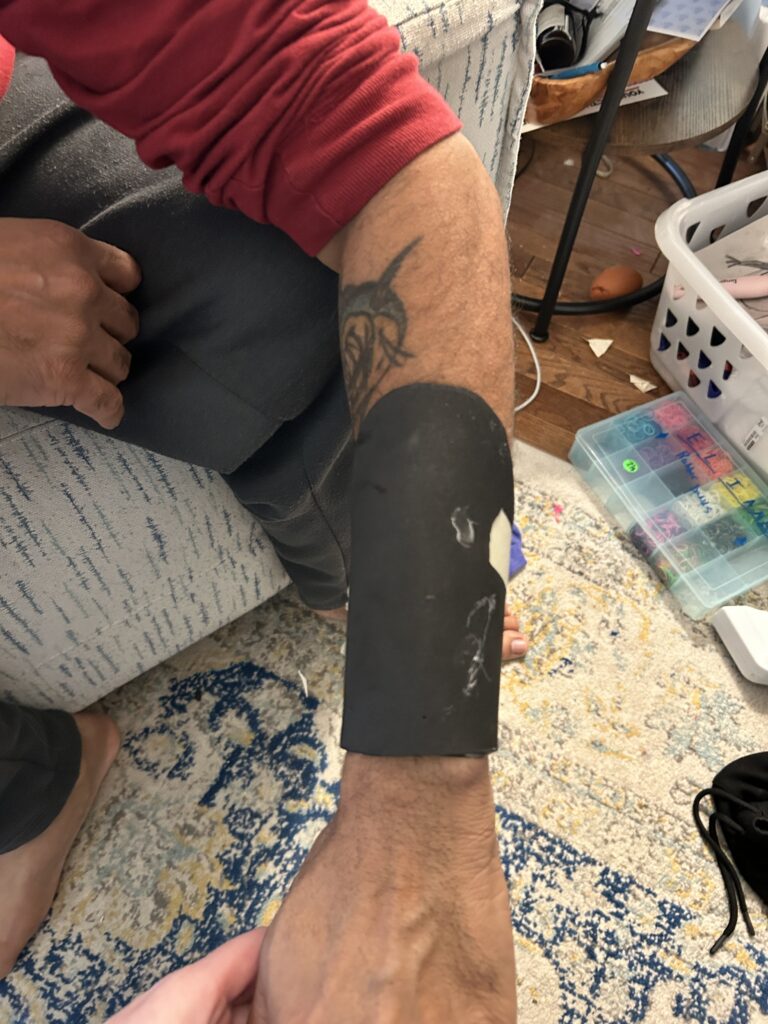
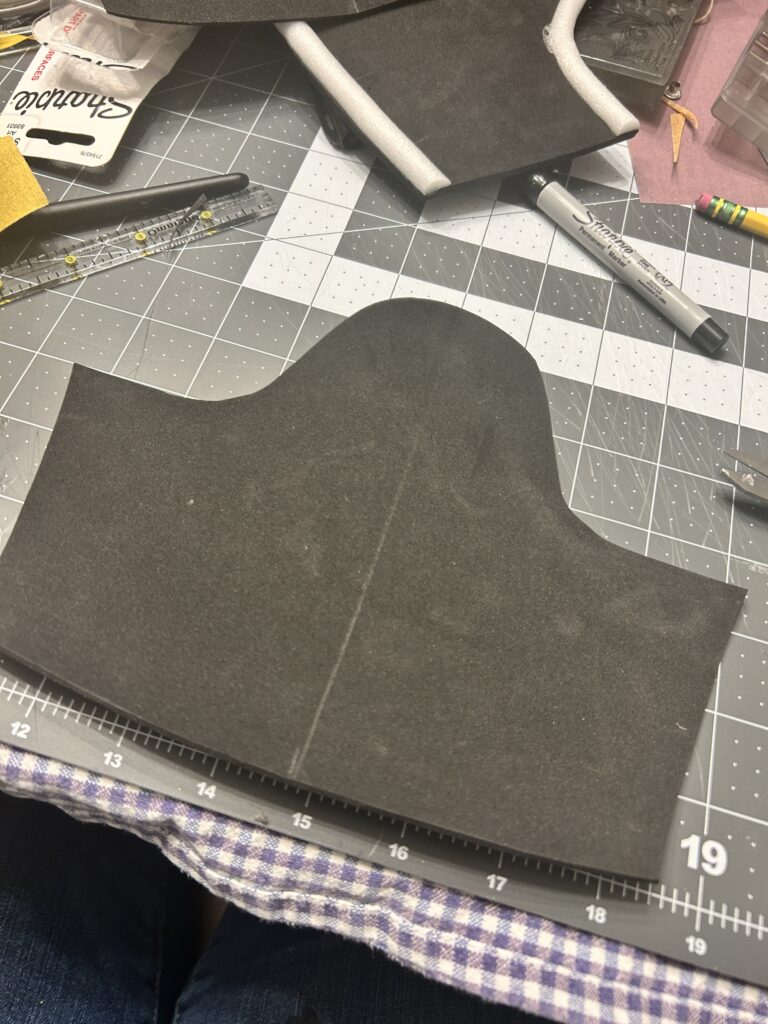
Once I had the shape I cut off the tape pattern and refined it onto brown paper. I cut my first form out of 2mm EVA foam. I tried that on the model, using masking tape to hold it together to check measurements on the arm.
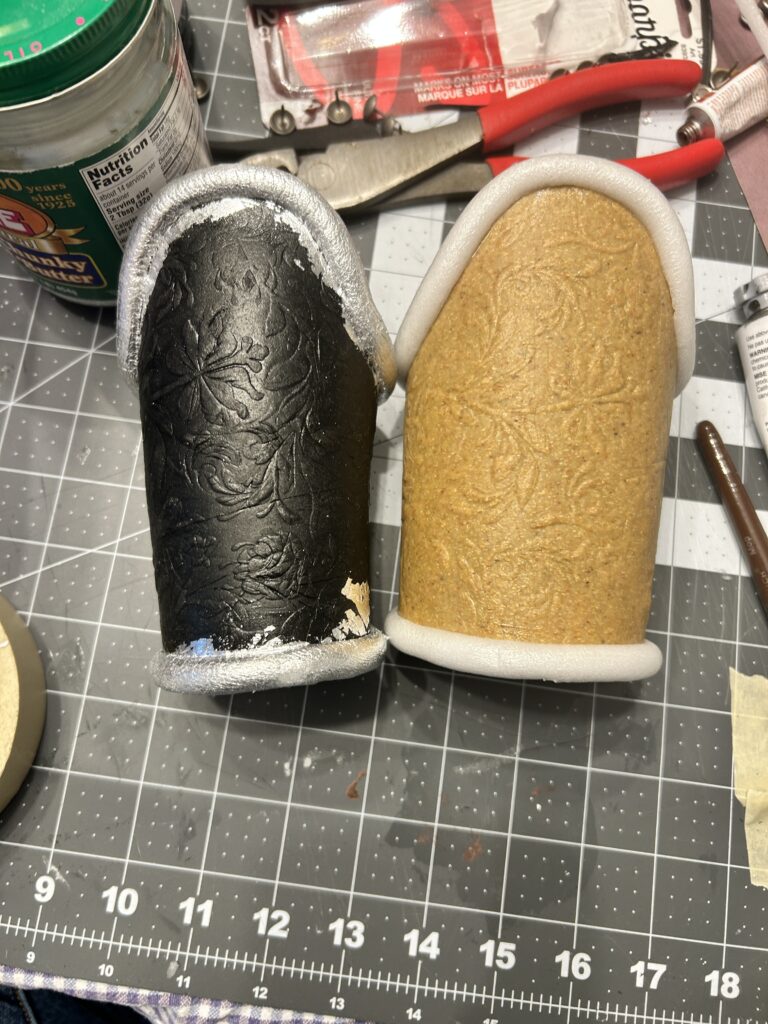
Adding Worbla and Texture
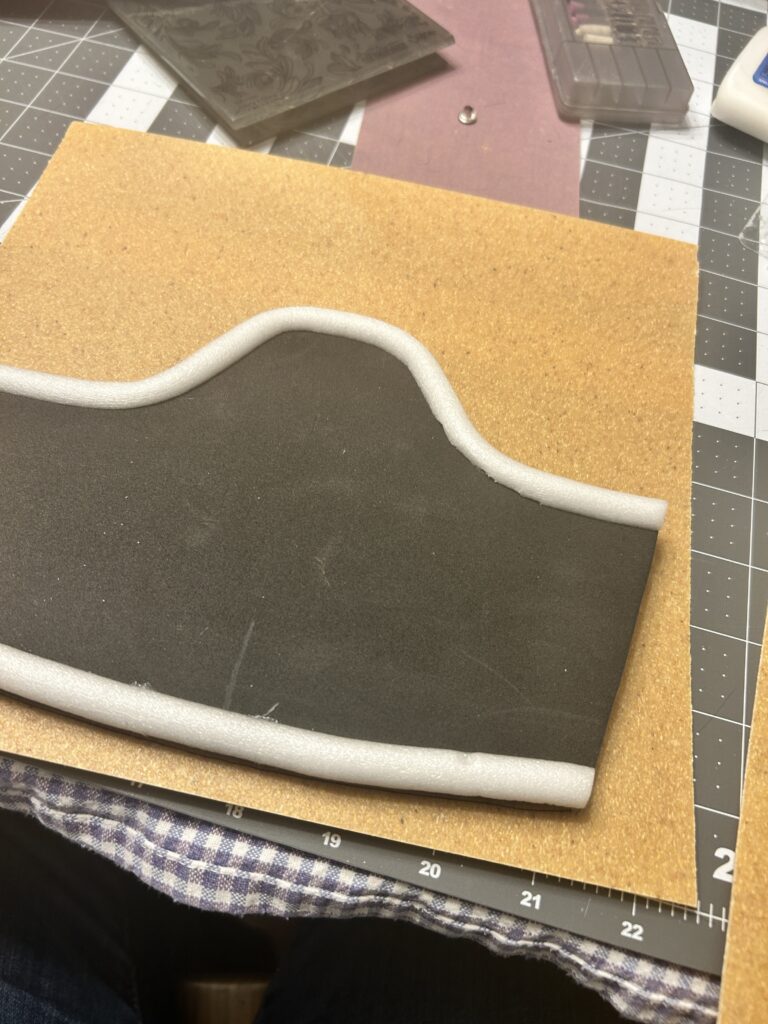
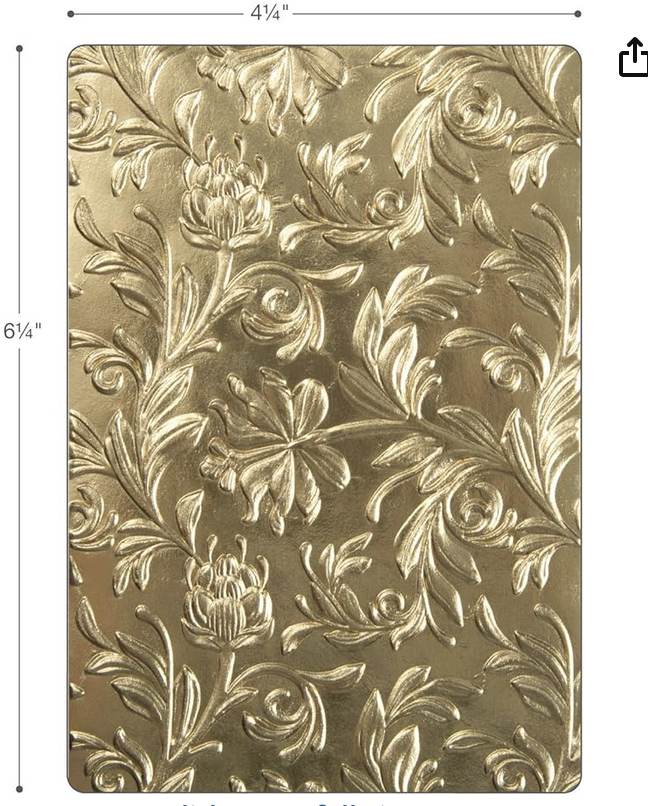
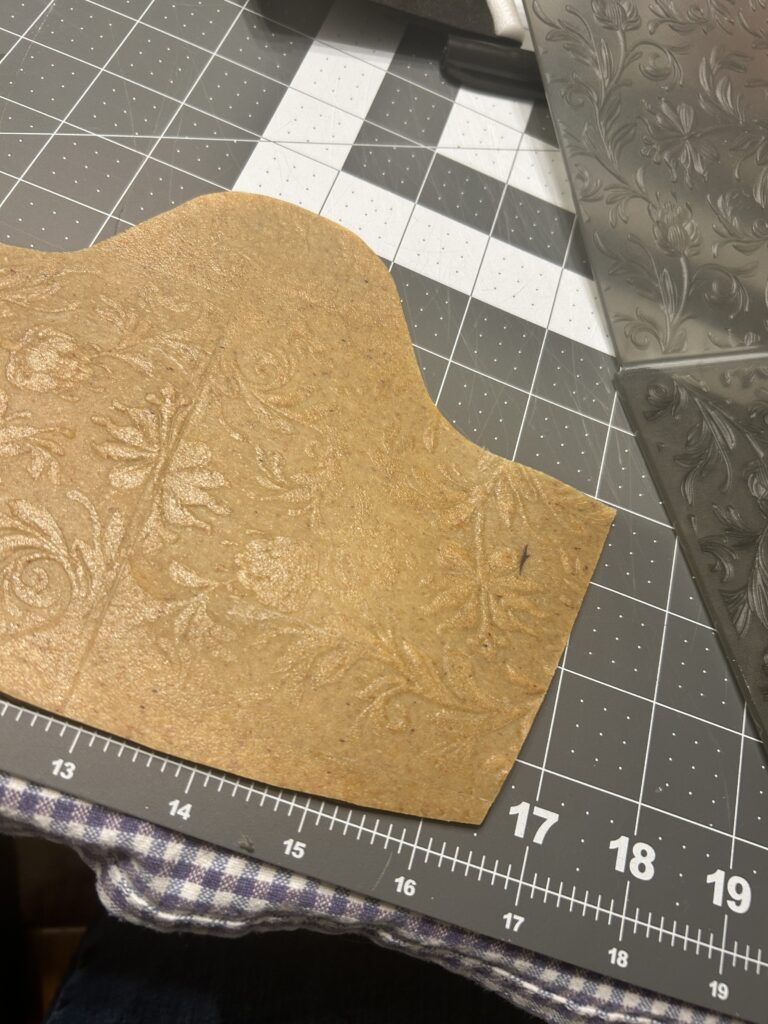
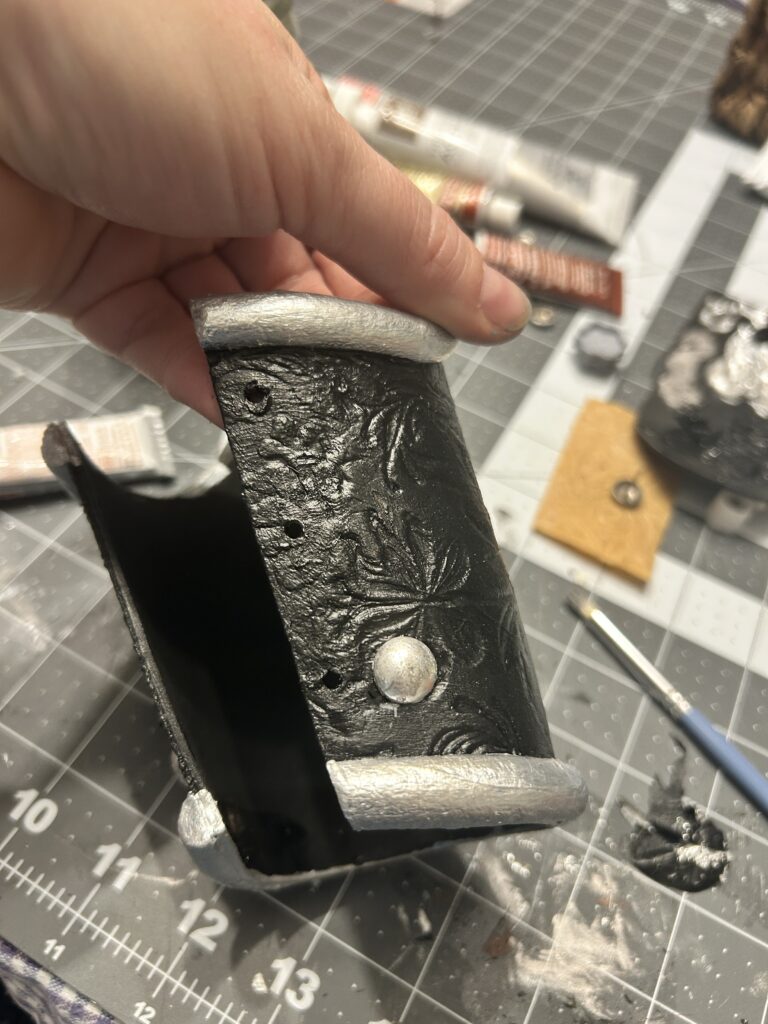
I first thought to the half round trim I wanted to use in order to have it under the Worbla. I attached foam tubing that I cut in half to form the half round. Sadly, after I had attached the foam, I realized that it would prevent me from adding on the texture I had planned. I needed the piece to still be flat in order to use the embossing folder I had for the Worbla. I was able to remove the half round craft foam and still utilize the piece of EVA foam I had cut for the bracer.
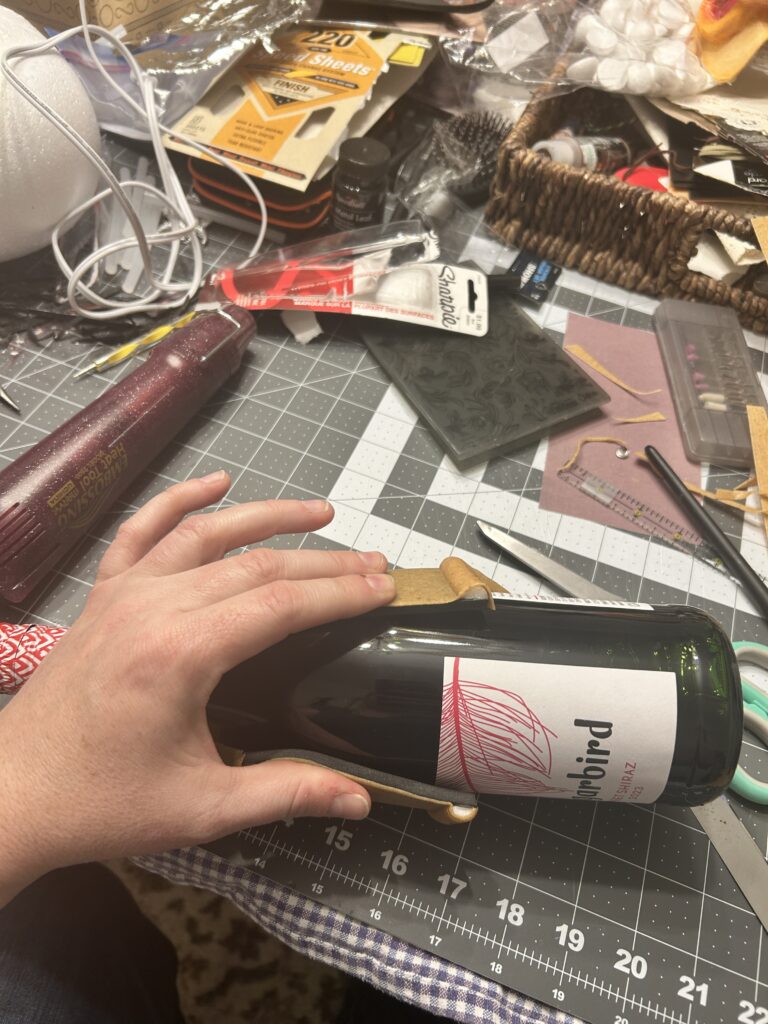
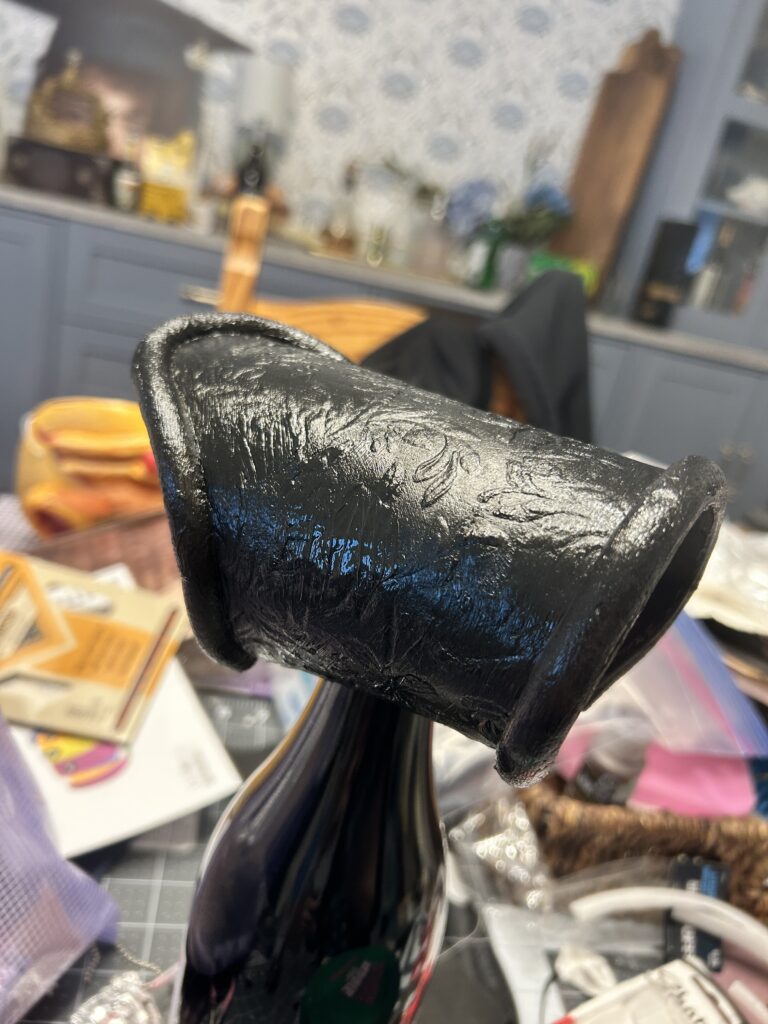
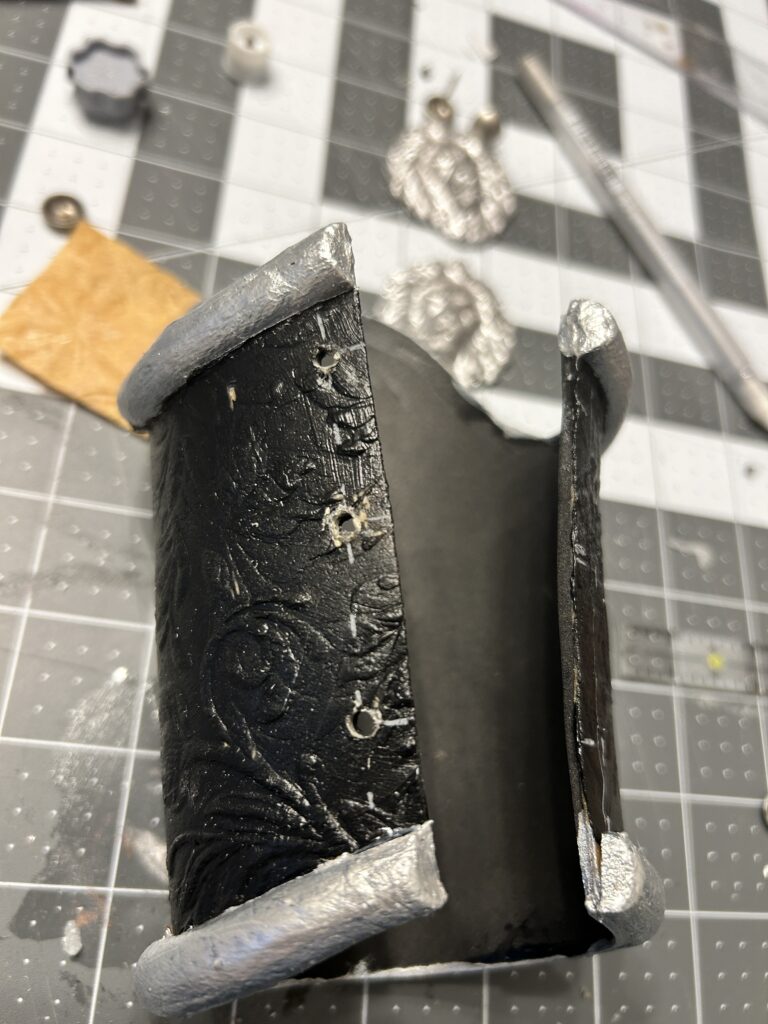
Once I adhered the Worbla, I warmed it up and let it cool slightly. I took the embossing folder and pressed hard against the Worbla as it laid flat on the table. This was not giving me a great impression so I took a nearby wine bottle and used it as a rolling pin to apply better pressure.
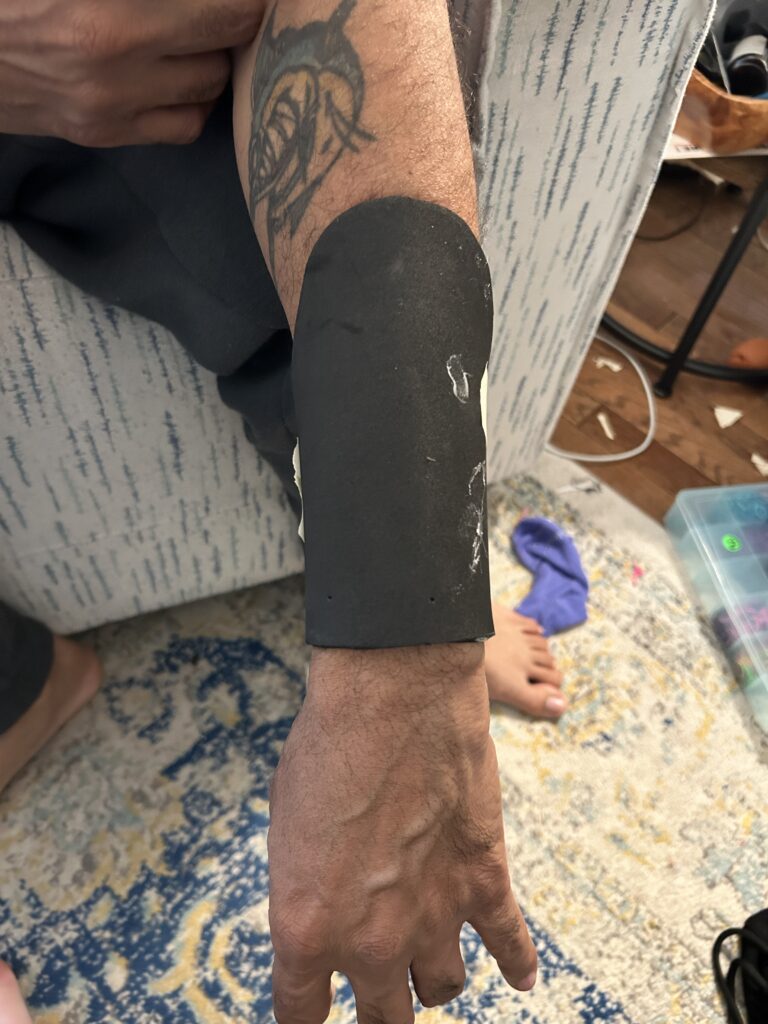
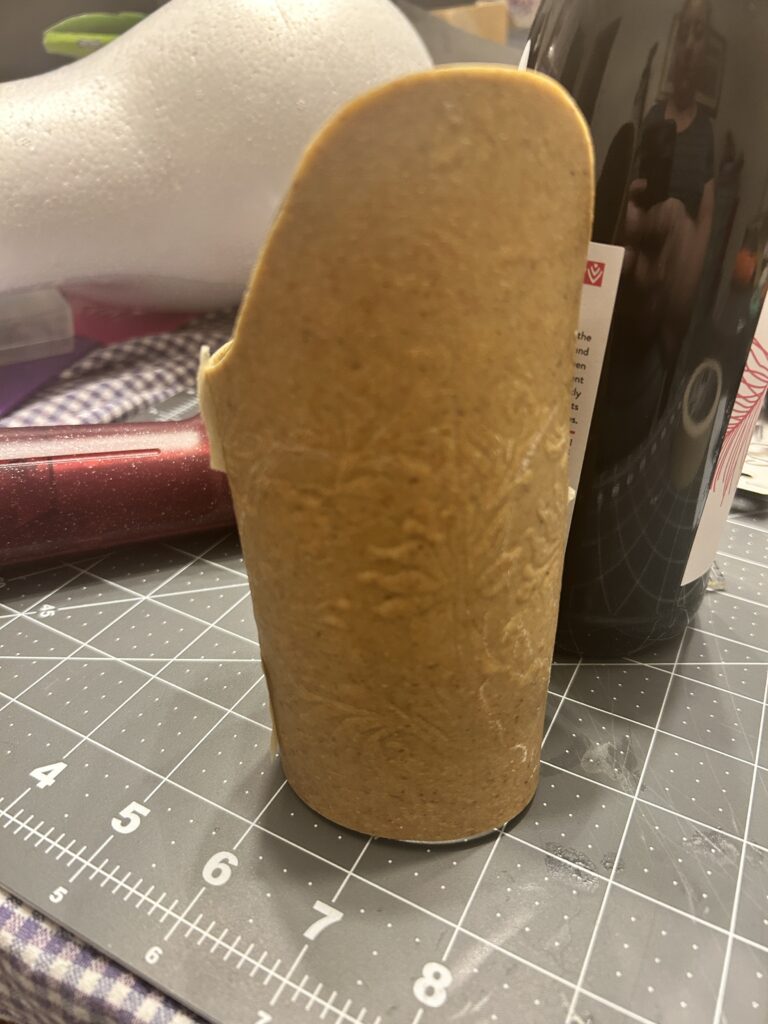
The wine bottle was also great for initializing the shaping of the bracers. I carefully heated the foam and Worbla from the back to resist getting the front too warm and losing the texture. I then pressed it around the wine bottle to start getting the curve into the form. Once it cooled enough the touch comfortably, I applied the form onto my forearm and used masking tape to hold the shape. This helped achieve the different dimensions needed for the curvature at the top of the bracer versus the bottom for the wrist.
Trim and Paint
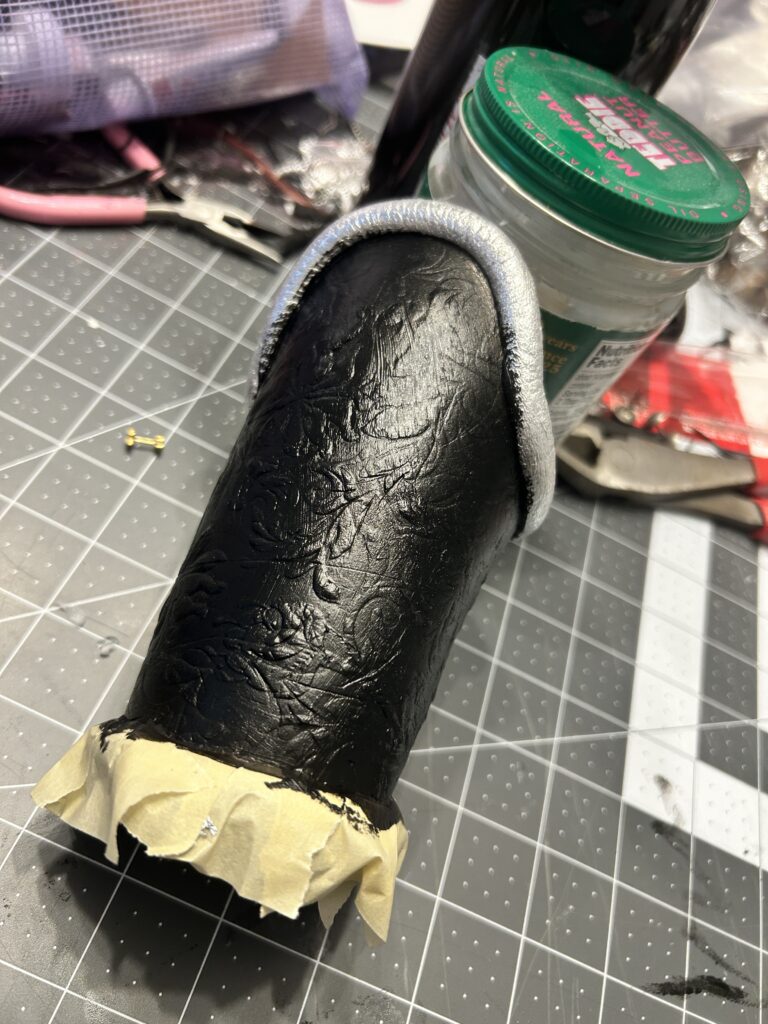
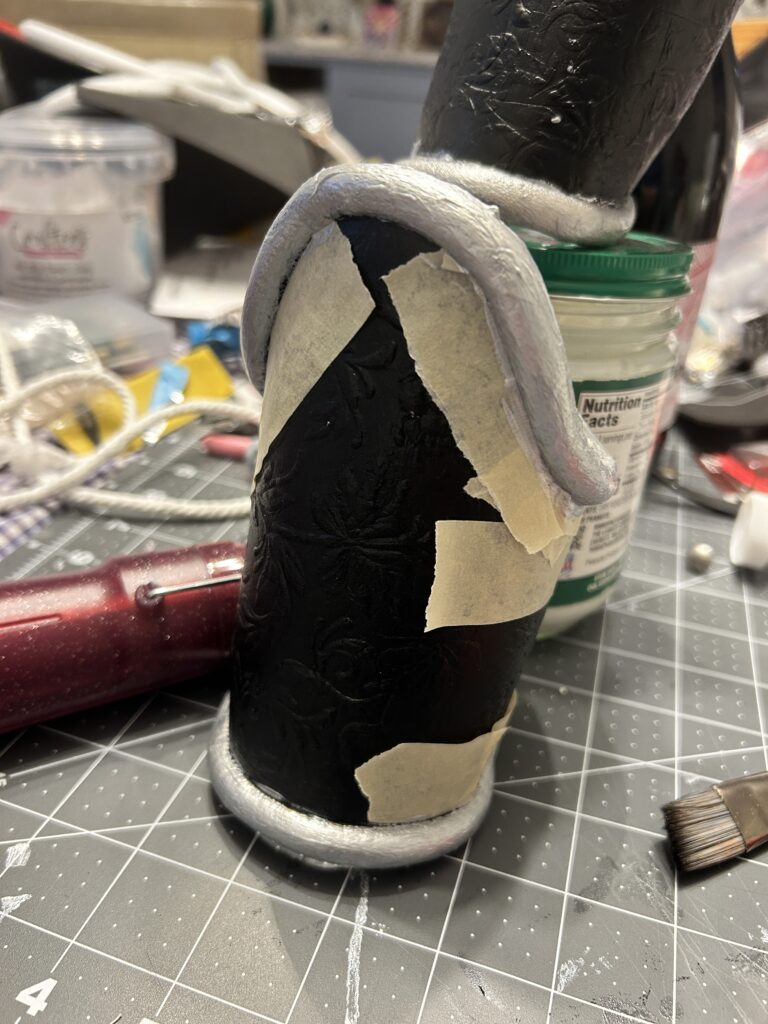
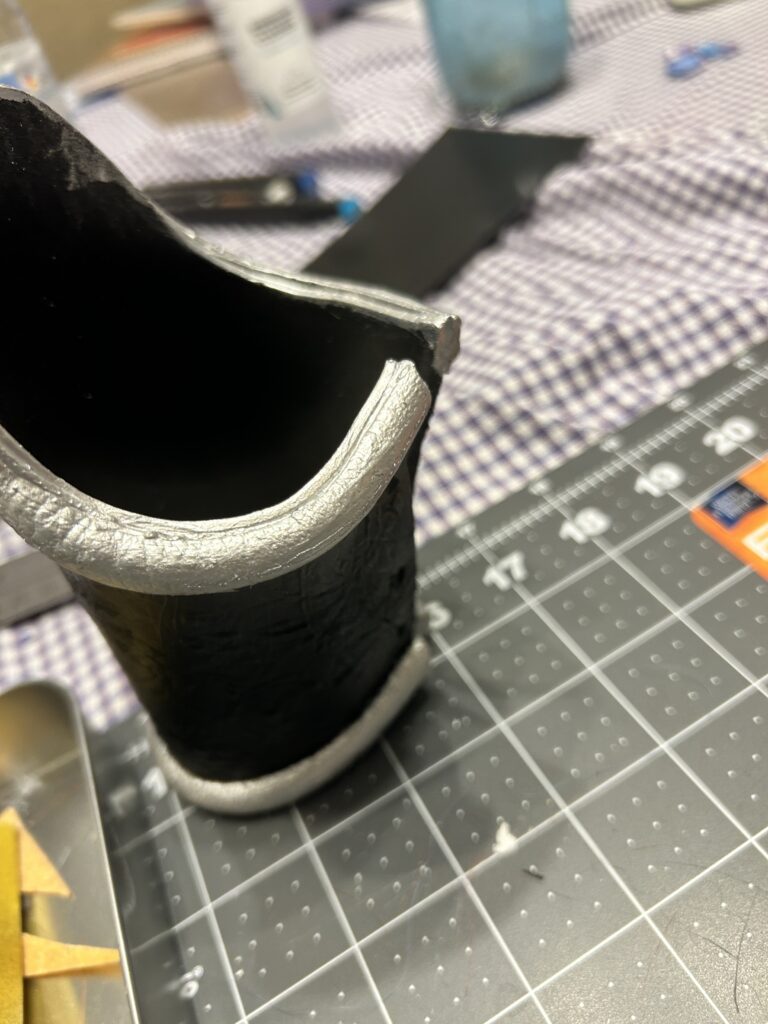
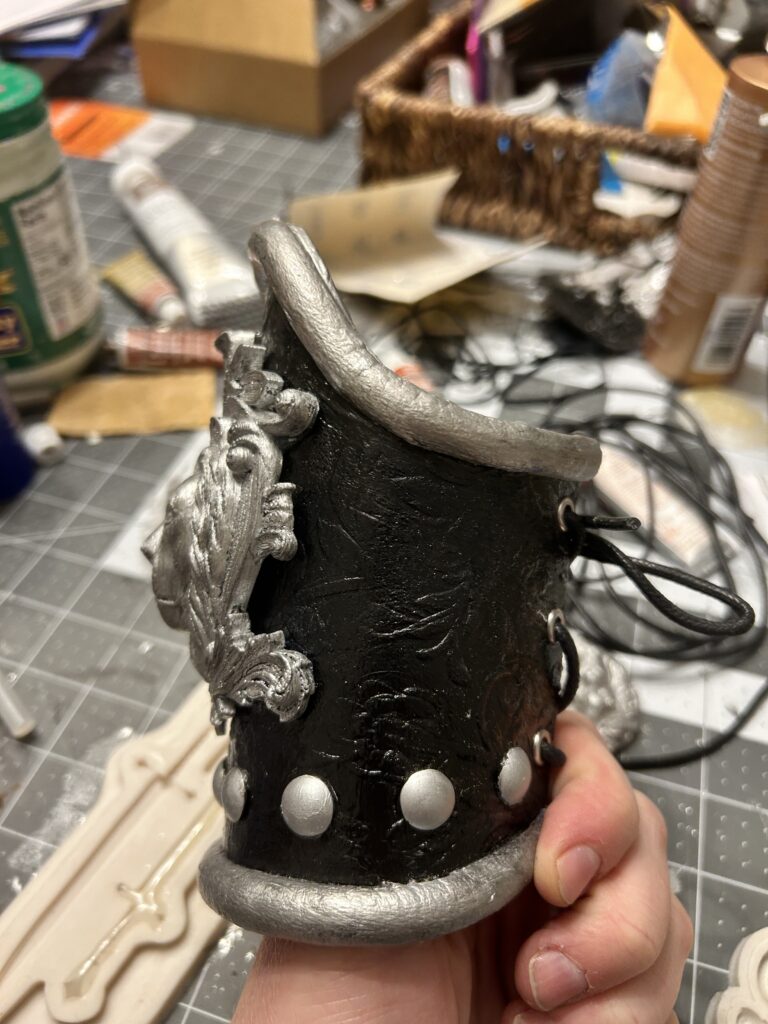
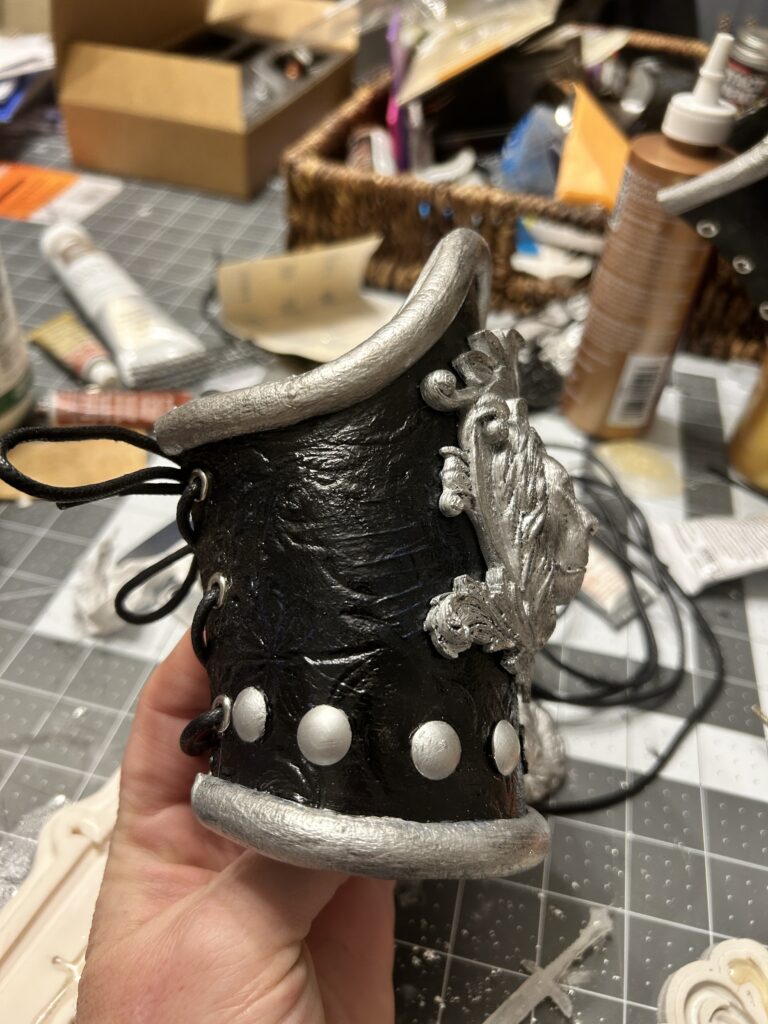
I add the half round craft foam back on to the tops and the bottom of the bracers using hot glue. I wanted to use silver leaf to finish the craft foam in order to be able to control the colors of all the adornments and ensure they matched. Once I put on the silver leaf, I realized quickly that, when I taped off the foam, the silver leaf was getting removed by the tape.
So I had to reverse course. I painted the entire bracer in Golden Bone Black acrylic paint. I was fine with this since I knew that the silver paint would have more depth with the black underneath. I was then able to more successfully tape off the main body and give the half round craft foam several coats of silver acrylic paint.
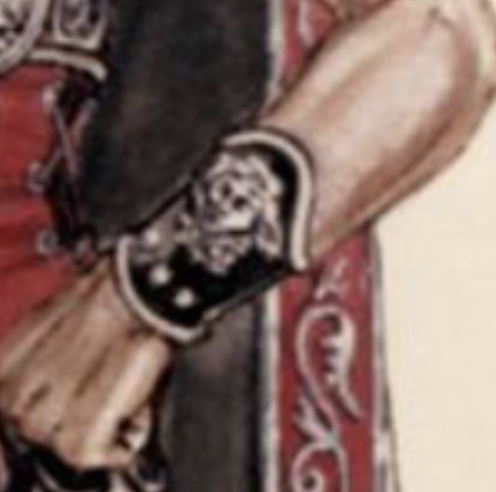
Embellishments and Medallion
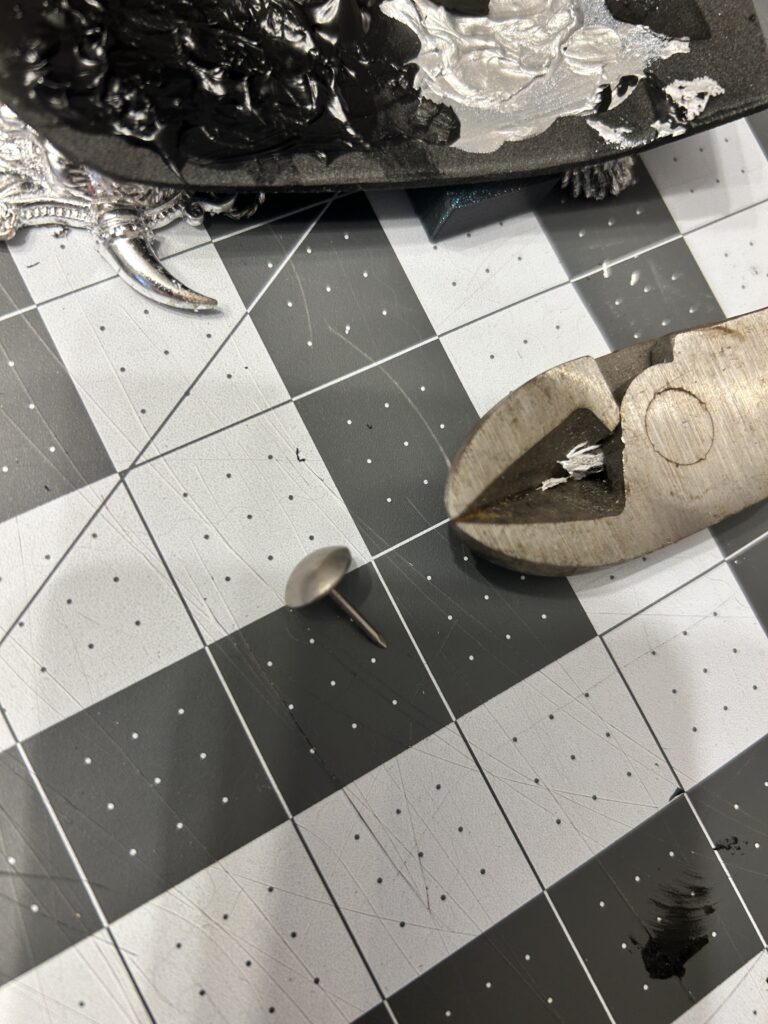
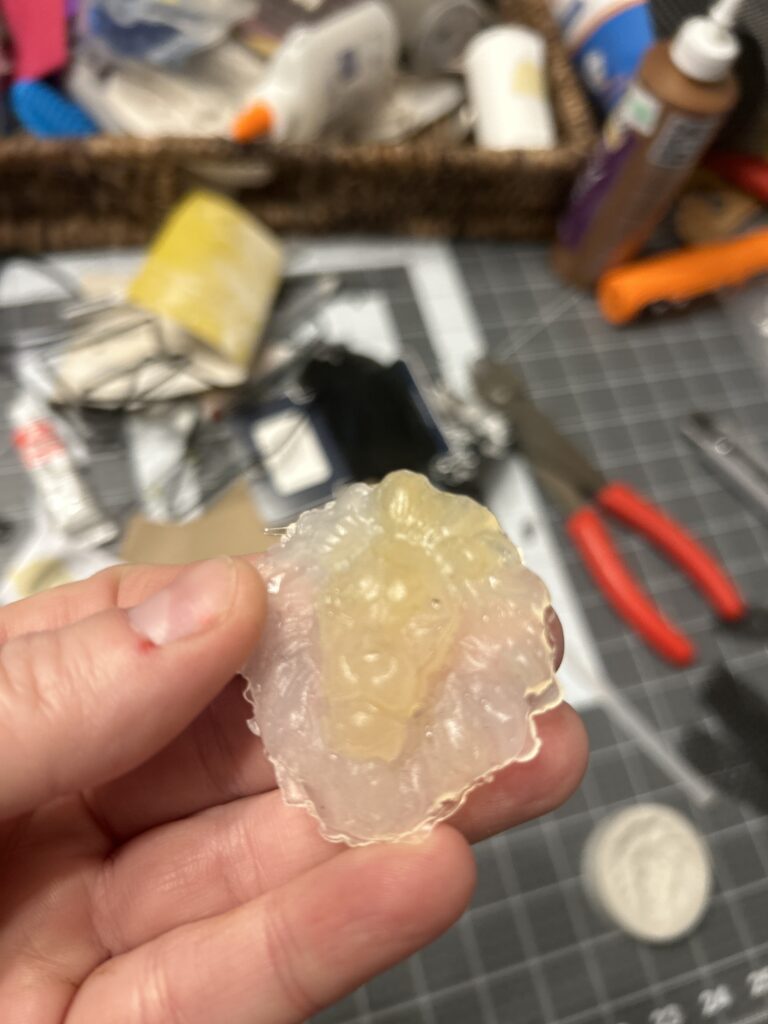
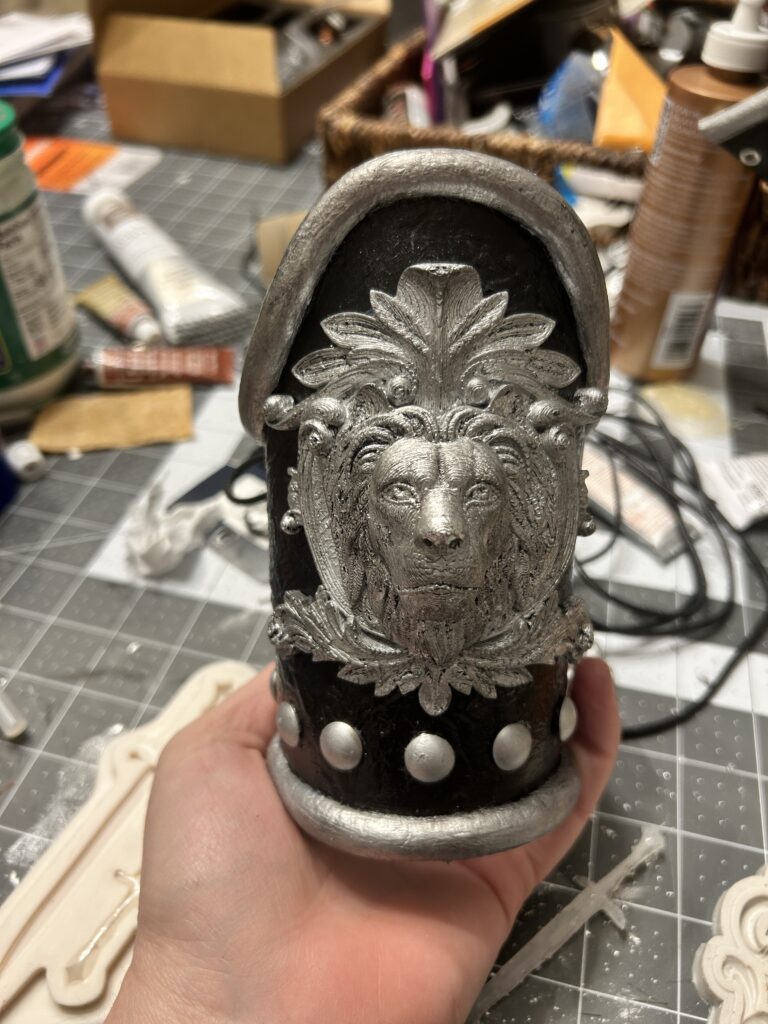
For the bottom metal round pieces near the wrist, I used quilters thumbtacks the the backs cut off to make them lay flat. I had several options for the middle piece. The sketch was a bit blurry to see the actually depiction. But looking at the other pieces in the sketch, it seemed accurate to use either a ram’s head, an eagle, or a lion since that is a relevant symbol of Roman emperors. I wandered the craft aisles looking for inspiration. I knew that the size of the medallion would be my biggest problem. I found nothing immediately that had the correct proportions. I thought through my available resources and reached out to my local library. They have a maker space and a 3D printer free for use. The only catch was they could not guarantee a quick print as there were other people in line ahead of me to use the machine. I decided to take the risk and put my print request in. In the meantime, I worked on a back up option in case the 3D print idea failed.
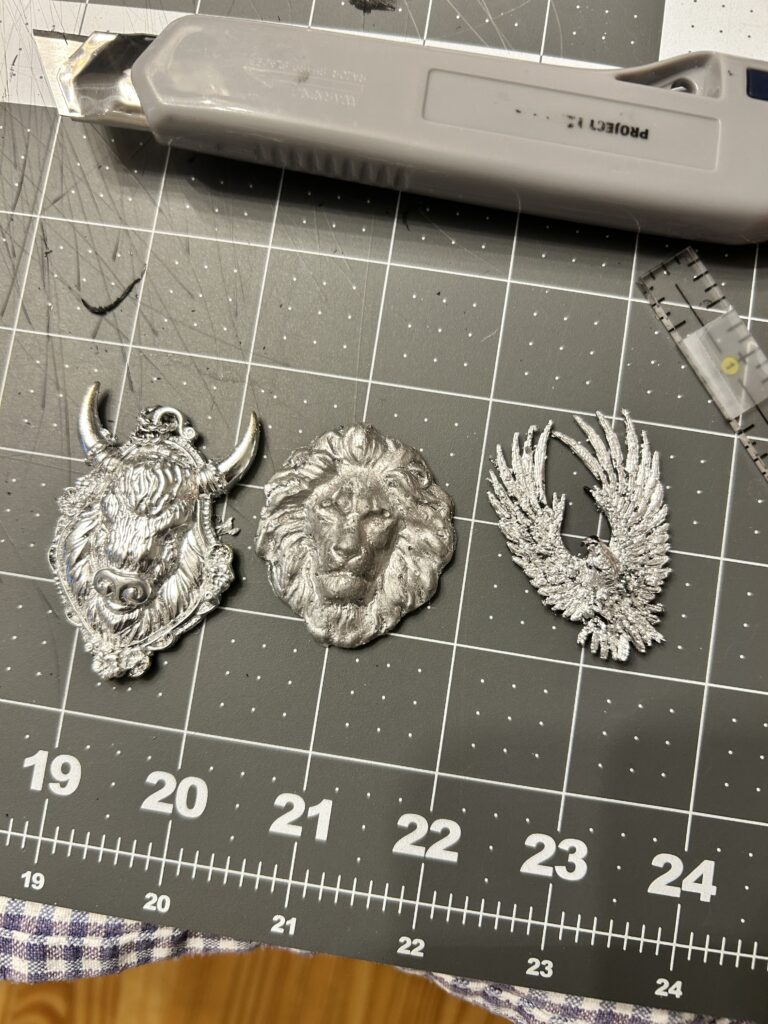
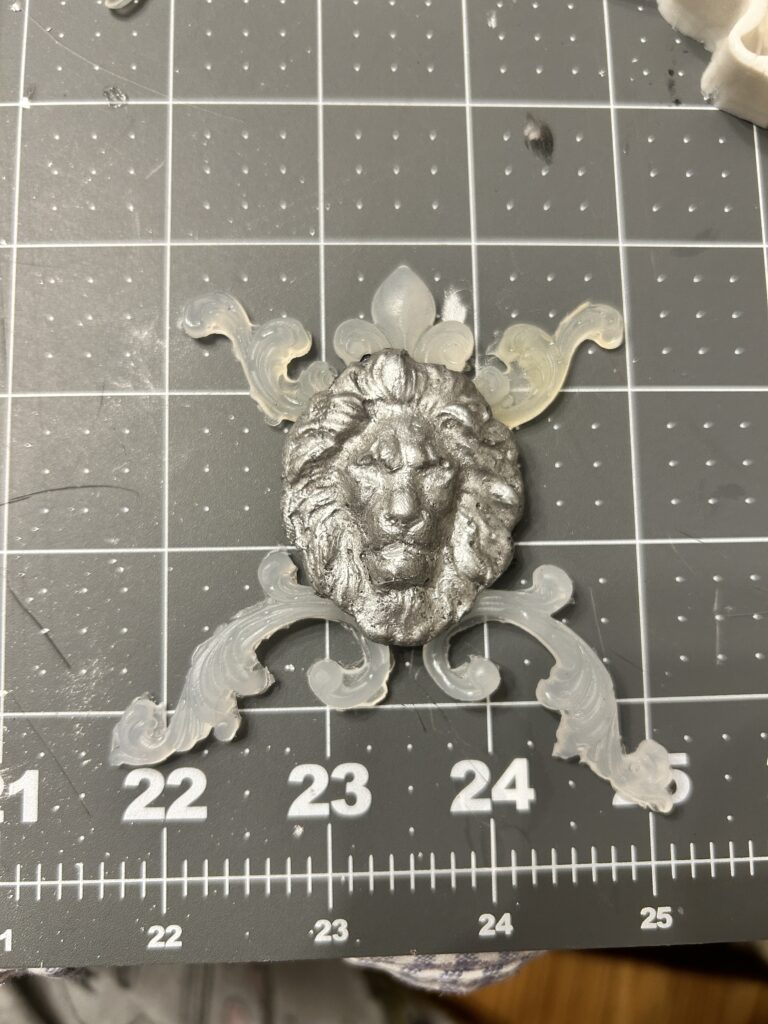
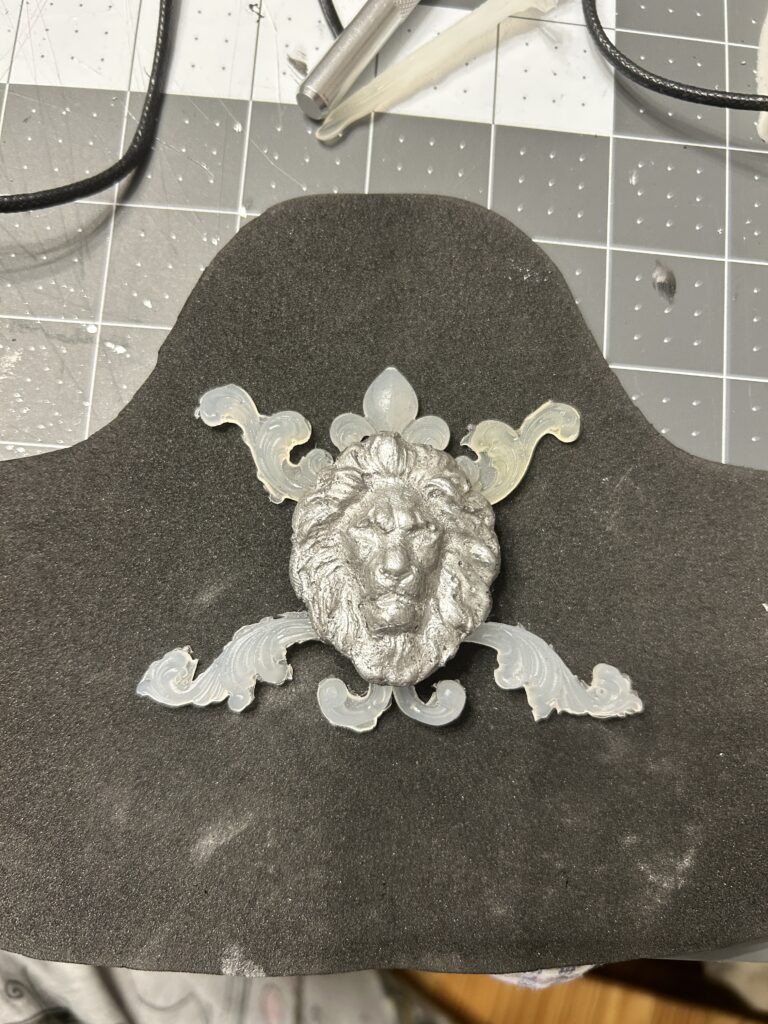
I found three smaller options that I felt would be a good base for the middle medallion. I applied silver leaf to each of the options to see how the details would show up on top of the bracers. I decided that the lion head worked best and utilized other silicone molds to add other details in order to increase the size since the lion head alone was much too small.
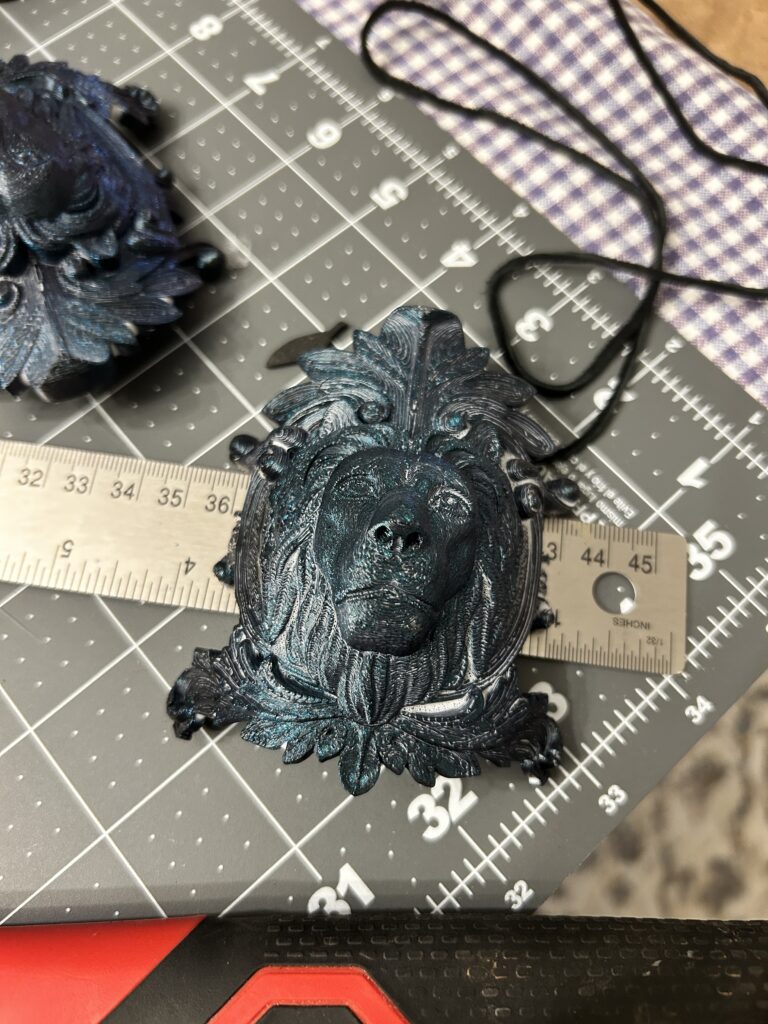
Luckily, the 3D print came in plenty of time to add to the project. I first had to heat up the print to get it to take the curve of the bracers. I applied adhesive glue and silver leaf to each lion. I then added the silver paint that I used for the half round trim to each to add more dimension. Finally, I used Rub N’Buff in Pewter to add shadows to the half round foam, the medallions, and the grommets at the bottom, ensuring that all the silver pieces had a cohesive finish. I then hot glued the medallion in place.
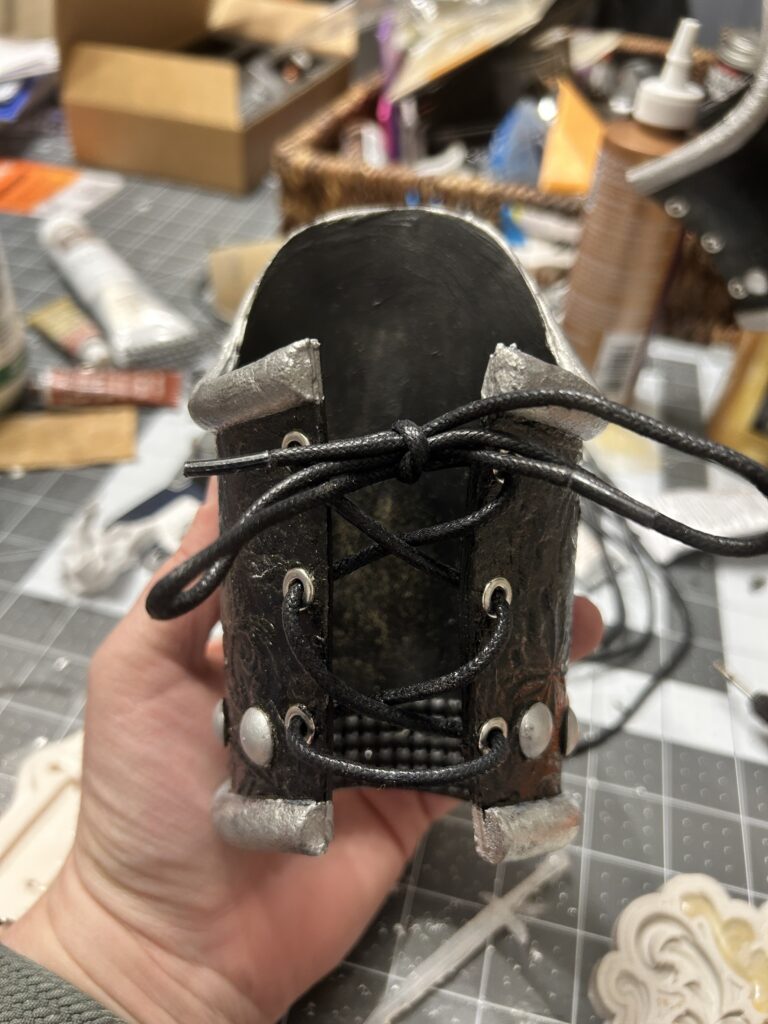
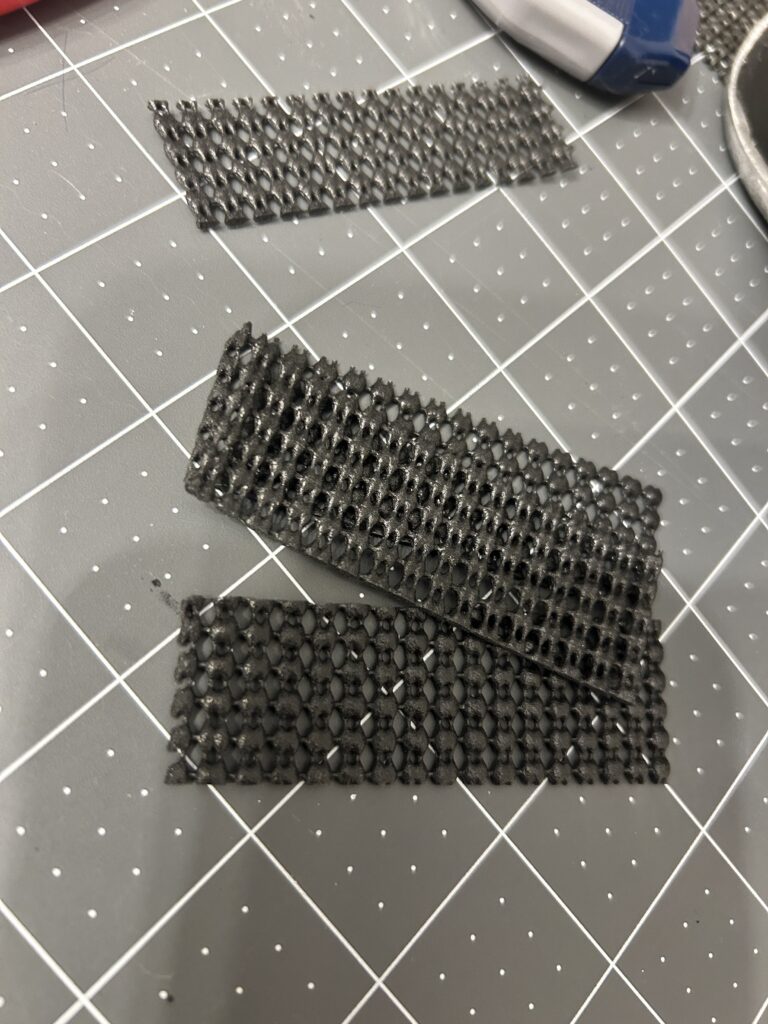
I also added strips of rubber shelf lining in the wrist area to help aid in the arm bracers shifting on the arms.
Eyelets and Closures
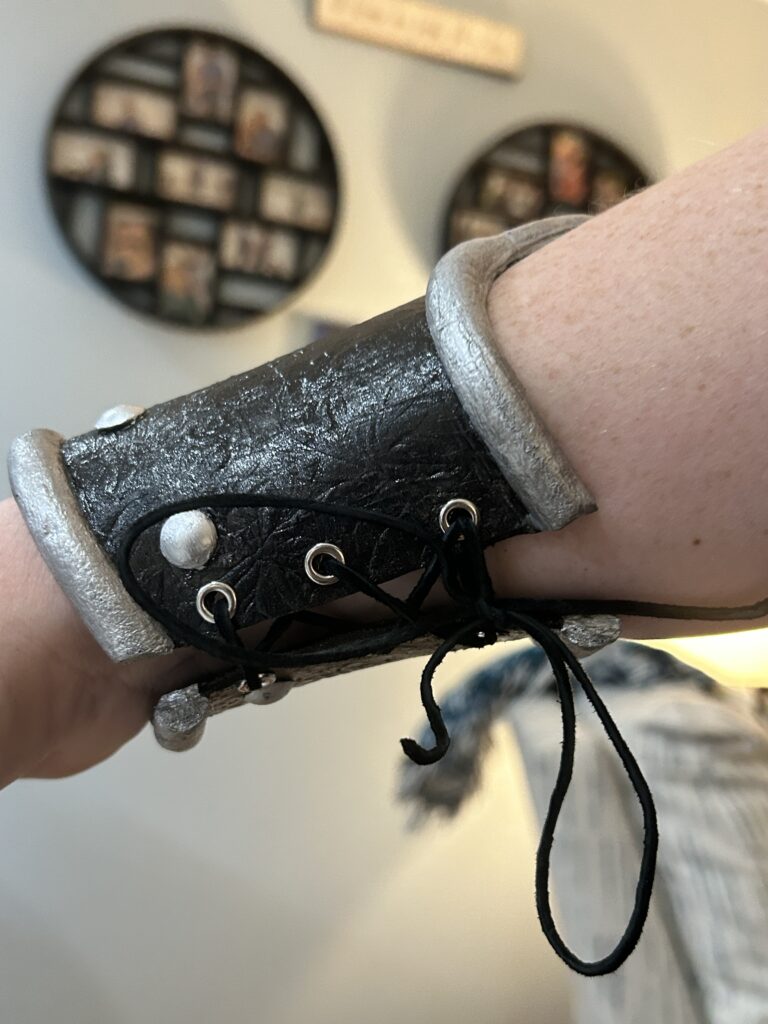
For the closures, I used three holes on each side of the bracers. I marked carefully where I wanted the holes and made sure that each side lined up with the other. I used my small Dremel to drill the holes into the Worbla and the foam. I then added silver eyelets to cover and strengthen each holes. I used superglue and hammered the eyelets shut. I finally used black dress shoelaces as the laces for each side. I chose the black dress shoelaces because they were small in diameter and were less clunky looking when viewing from the back. They were also easier to tuck away to the inside of the braces so they were less noticeable on stage.
Final Touches
To make the black stand out a bit more onstage, I added several dry brush strokes with a dark blue to give more depth to the black. I coated the entire project (excluding the shoelaces) with a coat of Sculpt and Coat.